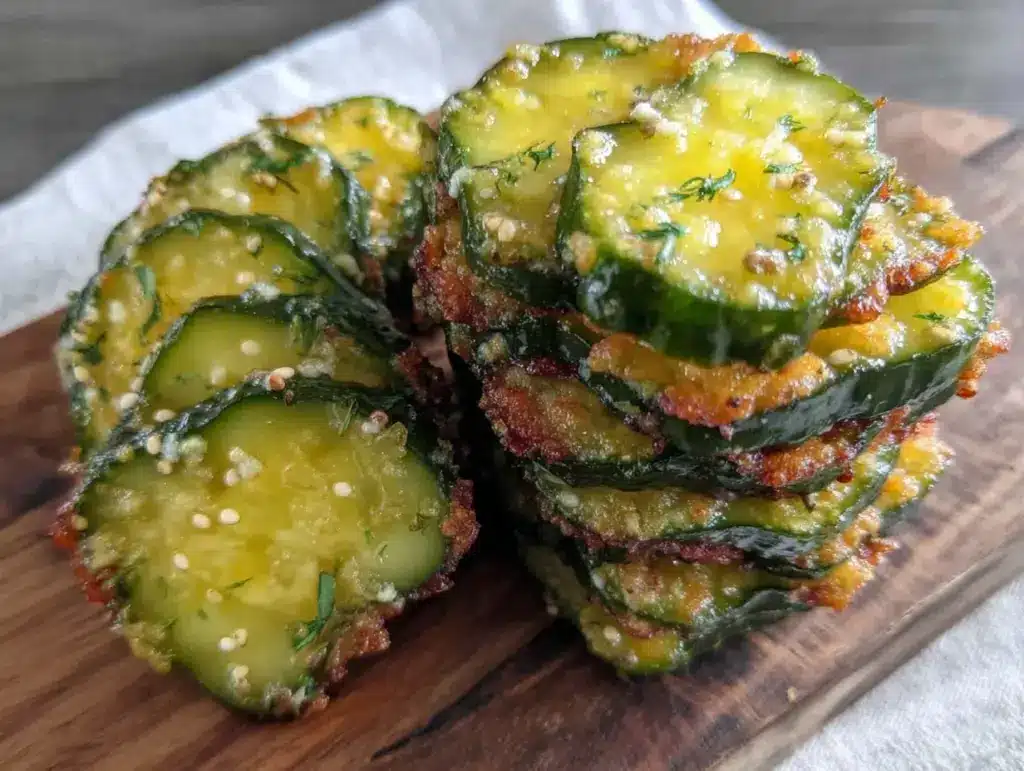
My partner grabbed a jar of these crispy quick refrigerator dill pickles straight from the fridge and said, “You could bottle this and sell it.” I was halfway through slicing cucumbers, caught off guard by how much crunch—and flavor—had come from something so simple and fast. Honestly, I didn’t expect to hear that kind of praise so soon after tossing the ingredients together. The tangy, fresh aroma filled the kitchen, and that first bite? Pure satisfying crunch paired with the perfect dill zing. It was one of those low-key kitchen victories you don’t plan for but almost want to savor in slow motion.
Watching someone genuinely enjoy a recipe I made from scratch, especially one as humble as refrigerator pickles, reminded me why these quick pickles have become my go-to for fresh, homemade flavor without the fuss of traditional canning. There’s something special about a snack that feels crisp, bright, and homemade, yet comes together in under a day. It’s the kind of recipe that quietly earns its spot in your fridge door, ready to surprise you whenever you reach for it.
These pickles aren’t just about satisfying that tangy craving; they capture the essence of fresh cucumbers meeting fragrant dill and garlic in a way that feels vibrant and alive. And the best part? You don’t have to wait weeks. Just a few hours and these pickles are ready to rock your snack game. That moment when you realize a homemade pickle can be this quick and this good—it’s the kind of kitchen magic that keeps me reaching for the jar over and over again.
Why You’ll Love This Recipe
This crispy quick refrigerator dill pickles recipe is honestly a game changer in my kitchen. I’ve tried all sorts of pickling methods, and this one strikes the perfect balance between speed and flavor—without sacrificing that satisfying crunch. Here’s what makes it stand out:
- Quick & Easy: Ready to enjoy in as little as 4 hours, but best after 24. Perfect for when you want fresh pickles without the long wait or fuss.
- Simple Ingredients: No need for fancy or hard-to-find items. You likely have everything in your pantry and fridge already.
- Perfect for Snacking or Entertaining: These pickles pair beautifully with sandwiches, burgers, or as a zesty appetizer alongside dips like the creamy salmon dip or crunchy caraway twists.
- Crowd-Pleaser: Whether it’s kids sneaking bites or adults reaching for seconds, these pickles always disappear fast.
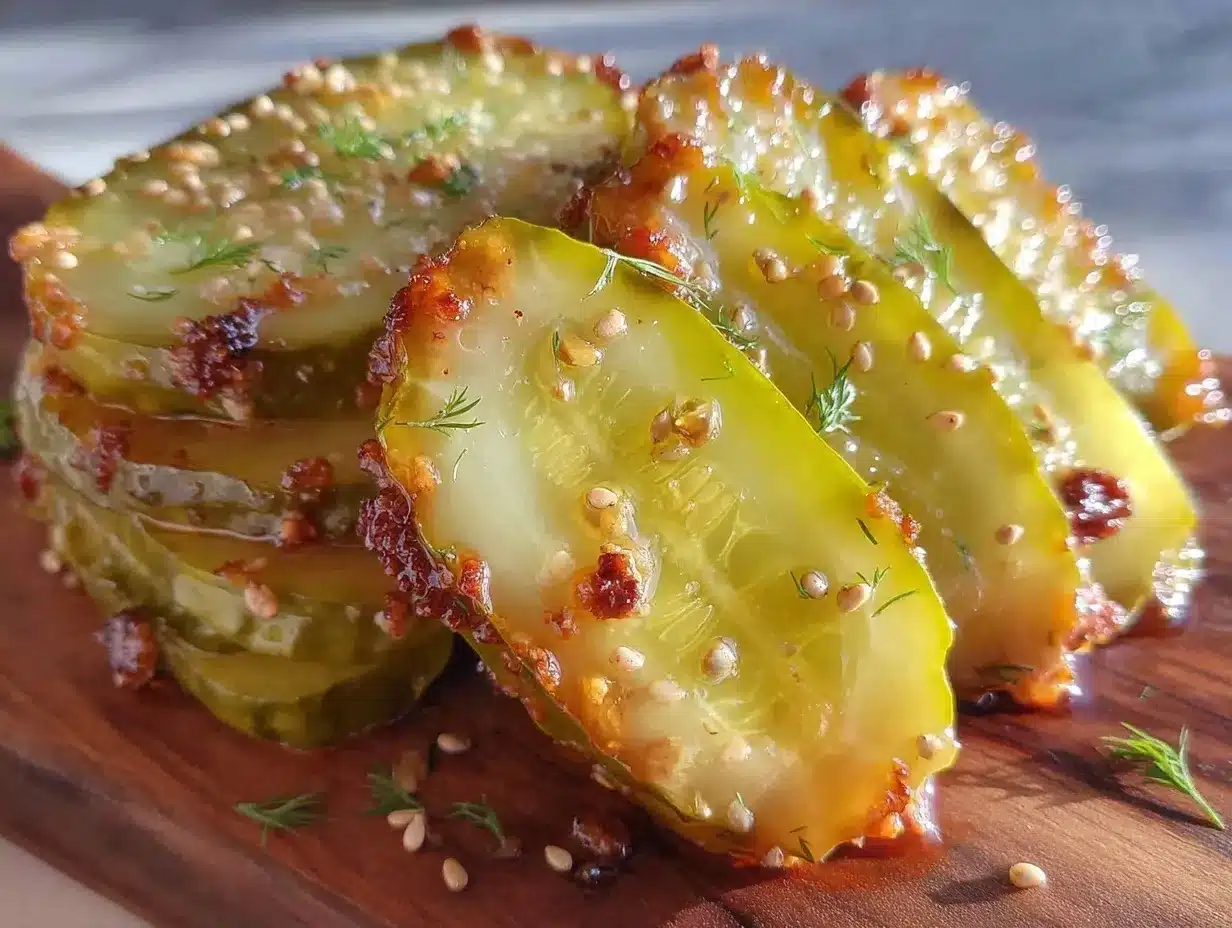
- Unbelievably Delicious: The combination of fresh dill, garlic, and a touch of heat from crushed peppercorns makes every bite pop with flavor.
What sets this recipe apart is the little extra attention to texture. Instead of soggy slices, these pickles come out with a snap, thanks to a quick soak in an ice-cold brine and a secret crisping trick I picked up from a seasoned home fermenter. Plus, the seasoning mix is perfectly balanced—not too salty, not too vinegary—making these pickles feel fresh and alive, not harsh or overpowering.
Honestly, these quick refrigerator dill pickles aren’t just a condiment—they’re a little celebration of fresh, simple ingredients done right. And if you’re into homemade snacks that impress without stress, this recipe will quickly become a fridge staple.
What Ingredients You Will Need
This recipe relies on straightforward, wholesome ingredients that come together to create a bold, fresh flavor with satisfying crunch. Most are pantry staples, and the fresh dill really brings it to life.
- Fresh cucumbers – about 4-5 medium Kirby or pickling cucumbers (these are firm and crisp; English cucumbers can work but may hold more water)
- Fresh dill – 3-4 sprigs (the star herb, lending that bright, classic dill flavor)
- Garlic cloves – 3-4, peeled and smashed (adds a punchy aroma and depth)
- White vinegar – 1 cup (250 ml) (for that classic tang; you can experiment with apple cider vinegar for a milder taste)
- Water – 1 cup (250 ml) (balances the acidity)
- Pickling salt or kosher salt – 1 tablespoon (keeps the brine clean and crisp; avoid iodized salt)
- Sugar – 1 teaspoon (just a touch to balance the vinegar’s sharpness)
- Black peppercorns – 1 teaspoon, crushed (adds subtle heat and complexity)
- Red pepper flakes – 1/2 teaspoon (optional, for a little kick)
- Bay leaf – 1 (optional, for a subtle herbal note)
For the best results, I recommend picking up firm, small-curd dill from your local farmer’s market or grocery store. Also, if you want to try a gluten-free or paleo-friendly twist, swap the sugar for a natural sweetener like honey (use sparingly). For a dairy-free snack, this recipe is naturally free of dairy.
Equipment Needed
- Large glass jar or airtight container (a quart-sized mason jar works perfectly; glass is best to avoid any metallic taste from the vinegar)
- Sharp knife and cutting board (for slicing cucumbers evenly; thin slices absorb brine better)
- Mixing bowl (to whisk together the brine ingredients)
- Measuring cups and spoons (precise brine ratios are key to consistent flavor)
- Tongs or chopsticks (to press the cucumbers down in the jar and get them submerged)
If you don’t have a mason jar, any clean, food-safe container with a tight lid will do. I’ve even used old pickle jars rinsed thoroughly when in a pinch. Keeping the cucumbers submerged is crucial for crisp results, so you might consider a small fermentation weight or even a clean zip-top bag filled with water to press them down.
Preparation Method
- Slice the cucumbers: Wash cucumbers thoroughly and slice into your preferred shape—thin rounds or spears both work well. Aim for uniform thickness, about 1/4 inch (6 mm), to ensure even pickling. This step takes about 5-7 minutes.
- Prepare the brine: In a mixing bowl, combine 1 cup (250 ml) white vinegar, 1 cup (250 ml) water, 1 tablespoon pickling salt, and 1 teaspoon sugar. Stir until salt and sugar dissolve completely. This usually takes 2-3 minutes. The balance here is key—too salty or too sweet changes the whole vibe.
- Add aromatics to the jar: Place fresh dill sprigs, smashed garlic cloves, crushed black peppercorns, red pepper flakes (if using), and bay leaf into your glass jar. These ingredients infuse flavor as the cucumbers sit in the brine.
- Pack the cucumbers: Tightly pack the sliced cucumbers into the jar, leaving about 1/2 inch (1.3 cm) headspace at the top. The tighter, the better—they’ll stay submerged and soak up the brine evenly. Use tongs or chopsticks to press them down gently.
- Pour the brine: Carefully pour the brine over the cucumbers, ensuring they’re fully submerged. If needed, use a fermentation weight or a small, clean bag filled with water to keep them underwater. Exposure to air can cause spoilage or soggy results.
- Seal and refrigerate: Put the lid on tightly and place the jar in the fridge. Let the cucumbers chill and soak for at least 4 hours, but for best flavor and crispness, 24 hours is ideal. You’ll notice the magic happening as the cucumbers turn bright green and soak up the dill-garlic goodness.
- Enjoy: After chilling, your pickles are ready to eat! They keep well in the fridge for up to 2 weeks, though I promise they won’t last that long.
Pro tip: For ultra-crisp pickles, slice cucumbers the day before and soak them in ice water for 1 hour before pickling. This extra step removes excess moisture and enhances crunch.
Cooking Tips & Techniques
Making quick refrigerator dill pickles is simple, but a few tricks can make a big difference:
- Choose the right cucumber: Pick firm, small Kirby cucumbers when possible. Their thicker skin and denser flesh hold up better in the brine without turning mushy.
- Salt matters: Use pickling or kosher salt, not iodized table salt, to avoid cloudy brine and off-flavors.
- Keep cucumbers submerged: This prevents mold and helps them pickle evenly. I’ve learned the hard way that even a tiny bit of air exposure can mess up the texture.
- Don’t rush the process: While you can technically snack on these pickles after 4 hours, letting them sit 24 hours really brings out the best flavor and crispness.
- Store in the fridge only: These are quick pickles, not fermented or canned. Keeping them chilled slows spoilage and keeps the snap alive.
- Experiment with seasoning: I once tossed in a few mustard seeds and coriander for a subtle twist that added depth without overpowering.
One time, I forgot to smash the garlic and just dropped whole cloves in. The flavor was milder but still good—just a little less punchy. So if you want a softer garlic note, try that. Also, if your pickles ever turn soft, it might be your cucumber choice or insufficient salt in the brine.
Variations & Adaptations
While this recipe nails the classic dill pickle flavor, it’s easy to switch things up to suit your mood or dietary needs:
- Spicy pickles: Add sliced jalapeños or increase the red pepper flakes to give your pickles a fiery kick.
- Garlic lovers’ edition: Double the garlic cloves or use roasted garlic for a deeper, sweeter profile.
- Low sodium: Reduce salt by half and extend pickling time to 48 hours to balance flavor without losing crunch.
- Herbal twist: Swap dill for fresh tarragon or add fresh thyme sprigs for a different herbaceous note.
- Vinegar swap: Use apple cider vinegar or a mix of white wine vinegar for milder acidity and subtle fruity undertones.
Personally, I once tried adding a splash of the brine leftover from my fresh shrimp salad to the jar for an extra herbal punch—it was an unexpected but delightful combo. Feel free to get creative!
Serving & Storage Suggestions
These crisp dill pickles are best served chilled right from the fridge. They make a perfect crunchy contrast to rich, creamy dishes—think alongside a plate of cheese-stuffed cherry tomatoes or as a tangy counterpoint to smoky meats.
You can serve them as a snack, a sandwich topper, or part of a vibrant charcuterie board. They’re especially handy for quick bites or to add a fresh zing to burgers and hot dogs.
Store your pickles in the refrigerator in a sealed glass jar for up to 2 weeks. The flavor actually deepens after a couple of days, but after about 10-14 days, they start to soften a bit.
When reheating is needed (for example, if adding to warm dishes), gently warm them for a few seconds in the microwave or add at the last minute to avoid losing that crisp texture.
Nutritional Information & Benefits
A serving of these crispy quick refrigerator dill pickles (about 3-4 slices) provides roughly:
| Calories | 10-15 |
|---|---|
| Carbohydrates | 2-3 grams |
| Fiber | 1 gram |
| Sodium | 300-400 mg (adjustable by salt used) |
| Fat | 0 grams |
| Protein | 0 grams |
These pickles are naturally low in calories and fat, making them a guilt-free crunchy snack. Cucumbers provide hydration and small amounts of vitamin K, while dill contributes antioxidants. The vinegar and garlic offer potential digestive benefits as well.
Do note that sodium content can be on the higher side due to the salt in the brine, so keep that in mind if you’re watching salt intake. This recipe is naturally gluten-free, vegan, and paleo-friendly.
Conclusion
If you’re craving fresh, crunchy pickles without the wait or complicated canning, these crispy quick refrigerator dill pickles are just the ticket. They bring that bright dill flavor and perfect snap you want from homemade pickles, without fuss or fancy equipment. I love how easy this recipe is to adapt and how it perks up everything from sandwiches to snack platters.
Make them your own by tweaking the aromatics or spice level, and keep a jar handy for whenever that pickle craving hits. Honestly, nothing beats that satisfying snap of a well-made quick pickle, and I’m betting you’ll feel the same once you try these.
Got your own twist or a favorite pairing? Share your thoughts below—I’m always curious how others enjoy these crisp little gems!
FAQs About Crispy Quick Refrigerator Dill Pickles
How long do quick refrigerator dill pickles last?
They keep best in the fridge for up to 2 weeks. After that, they may start to soften but are usually still tasty.
Can I use regular cucumbers instead of Kirby cucumbers?
Yes, but Kirby cucumbers hold up better and stay crisp longer. Regular cucumbers work if you slice them thicker or soak in ice water beforehand.
Do I need to sterilize the jars?
Since these are refrigerator pickles, sterilizing isn’t necessary—just use clean jars and keep them refrigerated.
Can I make these pickles spicy?
Absolutely! Add extra red pepper flakes or fresh jalapeño slices to the jar for a spicy kick.
Why are my pickles sometimes soggy?
Common causes include using cucumbers that are too ripe or not keeping them fully submerged in the brine. Also, using iodized salt or not soaking cucumbers in ice water beforehand can affect crispness.
Pin This Recipe!

Crispy Quick Refrigerator Dill Pickles
A quick and easy homemade recipe for fresh, crunchy dill pickles ready in as little as 4 hours, perfect for snacking or entertaining without the fuss of traditional canning.
- Prep Time: 10 minutes
- Cook Time: 0 minutes
- Total Time: 4 hours (best after 24 hours)
- Yield: 4 servings 1x
- Category: Snack
- Cuisine: American
Ingredients
- 4–5 medium Kirby or pickling cucumbers
- 3–4 sprigs fresh dill
- 3–4 garlic cloves, peeled and smashed
- 1 cup (250 ml) white vinegar
- 1 cup (250 ml) water
- 1 tablespoon pickling salt or kosher salt
- 1 teaspoon sugar
- 1 teaspoon crushed black peppercorns
- 1/2 teaspoon red pepper flakes (optional)
- 1 bay leaf (optional)
Instructions
- Wash cucumbers thoroughly and slice into thin rounds or spears about 1/4 inch (6 mm) thick.
- In a mixing bowl, combine 1 cup white vinegar, 1 cup water, 1 tablespoon pickling salt, and 1 teaspoon sugar. Stir until salt and sugar dissolve completely.
- Place fresh dill sprigs, smashed garlic cloves, crushed black peppercorns, red pepper flakes (if using), and bay leaf into a large glass jar.
- Tightly pack the sliced cucumbers into the jar, leaving about 1/2 inch headspace at the top. Use tongs or chopsticks to press them down gently.
- Pour the brine over the cucumbers, ensuring they are fully submerged. Use a fermentation weight or a small clean bag filled with water if needed to keep cucumbers underwater.
- Seal the jar tightly and refrigerate for at least 4 hours; for best flavor and crispness, refrigerate for 24 hours.
- Enjoy chilled. Store in the refrigerator for up to 2 weeks.
Notes
For ultra-crisp pickles, slice cucumbers the day before and soak in ice water for 1 hour before pickling. Keep cucumbers fully submerged to prevent mold and sogginess. Use pickling or kosher salt, not iodized salt. Let pickles sit 24 hours for best flavor and crunch. Store in fridge only. Variations include adding jalapeños for spice or swapping vinegar types.
Nutrition
- Serving Size: About 3-4 pickle sli
- Calories: 1015
- Sodium: 300400
- Carbohydrates: 23
- Fiber: 1
Keywords: quick pickles, refrigerator pickles, dill pickles, homemade pickles, easy pickling, crunchy pickles, snack, appetizer