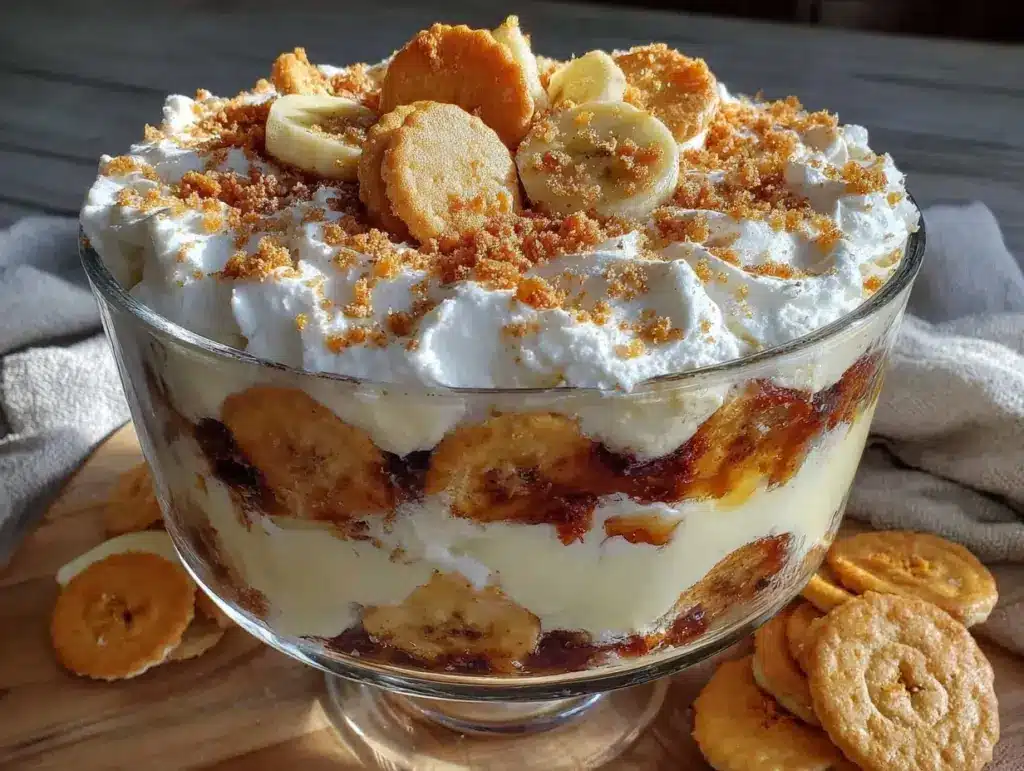
“Did you grab the vanilla wafers?” my friend asked as I frantically wiped my hands on a kitchen towel, juggling ripe bananas and a bowl of pudding. It was a last-minute decision to throw together something sweet for an impromptu summer get-together. Honestly, I wasn’t sure a no-bake dessert could impress a group of snack-savvy adults, but that afternoon, the creamy no-bake banana pudding trifle with crunchy Nilla wafers turned out to be the star of the table.
The best part? It came together faster than I expected, no oven required, and the layers of silky pudding, fresh bananas, and those little crispy wafers made everyone pause in mid-conversation for a bite. I remember sitting back with a forkful, the cool pudding melting just right against the sweet crunch. It wasn’t just dessert—it felt like a small moment of summer joy, in a glass dish.
Since then, I’ve made this creamy no-bake banana pudding trifle more times than I can count—sometimes swapping in a little extra whipped cream, sometimes adding a splash of bourbon because, well, why not? But the core of this recipe, that perfect balance of creamy and crunchy, is what keeps me coming back. It’s the kind of dish that feels thoughtfully homemade without the fuss, and honestly, it’s become my go-to for casual gatherings or a simple treat when the heat makes turning on the oven unbearable.
There’s something quietly satisfying about a dessert that’s both nostalgic and fresh, especially when it’s this easy to whip up. If you’ve ever enjoyed the classic banana pudding but wished it had a bit more texture and elegance, this trifle is a quiet little win you’ll come to rely on too.
Why You’ll Love This Creamy No-Bake Banana Pudding Trifle Recipe
Having tested this recipe through multiple weekend parties and casual family dinners, I can say it’s one that truly delivers on ease and taste. Here’s why it stands out:
- Quick & Easy: You can have this dessert ready in under 30 minutes, making it perfect for those last-minute summer gatherings or a simple sweet fix after dinner.
- Simple Ingredients: No need for fancy or hard-to-find items. Most of these are pantry staples or fresh produce you probably already have on hand.
- Perfect for Summer: Since this trifle requires no baking, it’s ideal for keeping your kitchen cool on hot days while still offering that creamy, indulgent bite.
- Crowd-Pleaser: Whether it’s kids or adults, this trifle consistently gets rave reviews. The crunchy Nilla wafers add a fun texture contrast that everyone loves.
- Unbelievably Delicious: The pudding’s silky smoothness layered with fresh bananas and the subtle vanilla crunch creates a comforting yet sophisticated dessert experience.
This isn’t just your run-of-the-mill banana pudding. The layering technique and the use of crunchy Nilla wafers prevent sogginess and keep every bite interesting. Plus, if you’ve ever made a banana pudding that turned watery or mushy, you’ll appreciate the balance here. I like to think of it as the grown-up cousin of the classic Southern dessert—easy to make, yet with an extra touch of texture and freshness.
And because it’s no-bake, it fits right into those long summer days when you want something sweet but don’t want to spend hours in the kitchen. This recipe has become my quick go-to, much like some of the easy appetizers I’ve posted about before, like the fresh shrimp salad appetizers that also come together effortlessly but impress like a charm.
What Ingredients You Will Need
This recipe uses simple, wholesome ingredients to deliver bold flavor and satisfying texture without the fuss. Most are pantry staples or fresh produce, making it easy to gather everything in one trip (or just a quick glance at your kitchen).
- Instant vanilla pudding mix (1 package, 3.4 oz / 96 g) – the base for that creamy pudding layer
- Whole milk (2 ½ cups / 600 ml) – for mixing with the pudding mix, you can substitute with almond milk if you prefer dairy-free
- Heavy whipping cream (1 cup / 240 ml) – whipped for a light, fluffy texture
- Granulated sugar (2 tablespoons) – to sweeten the whipped cream slightly
- Ripe bananas (4 medium) – peeled and sliced fresh for layering
- Nilla Wafers (about 60 grams / 2 oz) – for that essential crunch; I always keep a pack on hand, and Keebler is my personal favorite brand for consistent crispness
- Vanilla extract (1 teaspoon) – adds depth to the pudding and whipped cream mix
- Optional: A pinch of salt to balance sweetness, and a splash of bourbon or rum for an adult twist
When choosing bananas, look for ones that are ripe but firm to avoid mushy layers. If bananas aren’t in season or you want a twist, try swapping some slices with fresh strawberries or peaches, which I’ve done on occasion for a summery variation.
If you want to keep it lighter, swapping heavy cream for coconut cream works surprisingly well and adds a subtle tropical note. For gluten-free options, almond or gluten-free vanilla wafers can stand in without losing that satisfying crunch.
Equipment Needed
- Large mixing bowls: For whipping cream and mixing pudding
- Electric hand mixer or stand mixer: Essential for whipping the heavy cream to soft peaks smoothly and quickly
- Measuring cups and spoons: To keep the pudding’s texture just right
- Trifle bowl or clear glass serving dish: Layering looks best in a transparent container so you can see those beautiful layers
- Spatula or large spoon: For folding whipped cream into pudding and layering ingredients neatly
- Knife and cutting board: For slicing bananas
If you don’t have a trifle bowl, a large glass bowl or even individual parfait glasses work beautifully and make for elegant single servings. I’ve found that a good electric mixer really saves time and effort, especially on humid summer days when whipping by hand feels like a workout.
Keeping your mixing bowls chilled in the fridge before whipping cream can help you achieve better volume and texture, which I learned the hard way during a humid July afternoon.
Preparation Method
- Prepare the pudding: In a large bowl, whisk together the instant vanilla pudding mix and whole milk (2 ½ cups / 600 ml). Whisk for about 2 minutes until the mixture thickens. Set aside for 5 minutes to fully set.
- Whip the cream: In a chilled mixing bowl, combine the heavy whipping cream (1 cup / 240 ml), granulated sugar (2 tablespoons), and vanilla extract (1 teaspoon). Using an electric mixer, whip on medium-high speed until soft peaks form, about 3-4 minutes. Be careful not to overwhip—it should look fluffy and smooth.
- Fold the whipped cream into the pudding: Gently fold about half of the whipped cream into the set pudding using a spatula. This lightens the pudding and adds that creamy texture. Save the remaining whipped cream for layering.
- Slice the bananas: Peel and slice 4 ripe bananas into ¼-inch thick rounds. To prevent browning, you can lightly brush them with lemon juice if you like (I often skip this step and still get away with it).
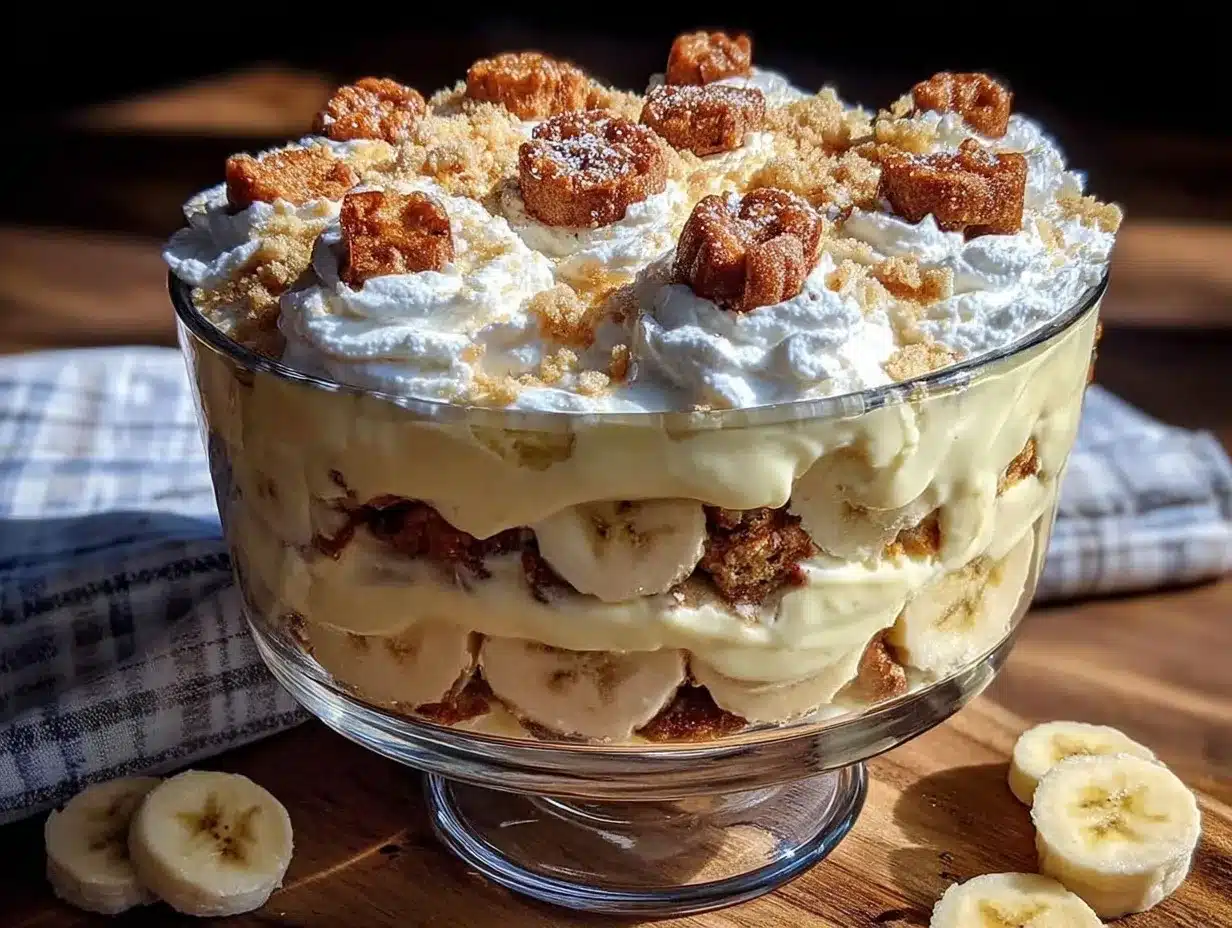
- Layer the trifle: In your trifle bowl or serving dish, start with a layer of Nilla wafers (about ⅓ of the total), then add a layer of banana slices, followed by a layer of the pudding-whipped cream mixture. Spoon a layer of plain whipped cream over that, smoothing gently.
- Repeat the layers: Repeat the layering process two more times or until your ingredients run out, finishing with a top layer of whipped cream. Reserve a few Nilla wafers for garnish.
- Chill the trifle: Cover the dish with plastic wrap and refrigerate for at least 2 hours, ideally 4, to let the flavors meld and wafers soften slightly but still hold some crunch.
- Garnish and serve: Just before serving, garnish the top with remaining Nilla wafers, and if desired, a few banana slices or a sprinkle of cinnamon for a little extra wow factor.
Remember, if your pudding seems too thick after chilling, a quick gentle stir with the spatula helps bring it back to luscious creaminess without breaking the layers.
Also, pro tip: layering the wafers evenly and not too thick avoids a soggy mess and keeps that delightful crunch in every bite, something I figured out after a few early tries!
Cooking Tips & Techniques
Whipping cream can be a bit tricky if you’re new to it. The bowl and beaters should be cold, and watching the peaks carefully is key—you want soft peaks that hold shape but are still pliable. Overwhipping can lead to butter, which, well, is a different recipe altogether!
When folding whipped cream into pudding, use a spatula and fold gently from the bottom up to keep the mixture airy and avoid deflating the cream. I’ve learned the hard way that a heavy hand here can make the pudding dense and less enjoyable.
Layering is where your trifle gets its charm. Take your time placing each layer evenly and avoid pressing down on the wafers; they should stay light to keep their crunch. If you’re short on time, assembling right before serving works but the flavors won’t meld as deeply.
For multi-tasking at a summer party, you can prepare the pudding and whipped cream the day before, slice bananas fresh, and layer it all about an hour before serving to keep bananas vibrant and fresh.
One frequent mistake is not chilling the pudding long enough before folding in whipped cream. The pudding needs to be set to hold the layers and not leak into the wafers and bananas, so patience here pays off!
Variations & Adaptations
- Dairy-Free Version: Swap the whole milk and heavy cream for coconut milk and coconut cream. Use dairy-free pudding mix or homemade banana pudding using cornstarch and coconut milk.
- Chocolate Banana Trifle: Add a layer of chocolate pudding or sprinkle mini chocolate chips between the layers for a chocolatey twist.
- Adult Version: Mix a tablespoon of bourbon or rum into the pudding before layering for that subtle, warming kick.
- Seasonal Fruit Swaps: Instead of bananas, try layering with fresh peaches, strawberries, or mango for a summer fruit burst.
- Crunchy Upgrade: Mix crushed pecans or toasted coconut flakes with the Nilla wafers for added texture and flavor complexity.
I personally love the adult version with a splash of bourbon, especially when paired with a casual afternoon of backyard entertaining. It pairs beautifully with light appetizers like the creamy salmon dip I sometimes serve alongside for a well-rounded spread.
Serving & Storage Suggestions
This banana pudding trifle is best served chilled but not too cold—let it sit out for 5-10 minutes after removing from the fridge to soften slightly for the best flavor and texture. Serve it in clear bowls or individual glasses to show off those inviting layers.
It pairs wonderfully with a light, bubbly beverage like sparkling water with a splash of citrus or a crisp white wine if you’re hosting adults. For a casual brunch or picnic, it complements simple savory bites like cucumber sandwiches or the festive cranberry cream cheese spread nicely.
Store leftovers covered tightly in the refrigerator for up to 3 days. The wafers will soften over time, so if you prefer crunch, add fresh wafers on top before serving again. Reheating isn’t recommended—this is a cool, refreshing dessert best enjoyed cold.
Flavors tend to meld and mellow with resting, making the pudding even tastier on day two, though the texture shifts slightly. If you’re prepping ahead, just keep the wafers separate until serving to keep them crisp.
Nutritional Information & Benefits
This creamy no-bake banana pudding trifle offers a moderate calorie count per serving, with the main calories coming from the pudding mix, cream, and wafers. Bananas provide a good dose of potassium, vitamin C, and dietary fiber.
Using real dairy cream adds calcium and vitamin D, but you can lighten the recipe using lower-fat milk or dairy alternatives. The recipe is naturally gluten-containing due to the Nilla wafers, but gluten-free wafer options make it accessible for those with sensitivities.
While indulgent, this dessert can be part of a balanced diet when enjoyed in moderation, especially during warm months when you want something cool and satisfying without the heaviness of baked goods.
From a wellness perspective, I appreciate that it includes fresh fruit and avoids artificial additives when you use quality pudding mix or homemade alternatives. It’s a simple way to treat yourself without going overboard.
Conclusion
This creamy no-bake banana pudding trifle with crunchy Nilla wafers is one of those rare desserts that feels both effortless and special. It hits the sweet spot between nostalgic comfort and light, fresh summer vibes every time I make it.
Feel free to tweak the layers, swap fruits, or add your favorite mix-ins—this recipe welcomes your personal touch. It’s become a small tradition for me and my friends, a dessert that brings smiles with little effort.
Give it a try and see how quickly it becomes your easy summer favorite, just like it did for me. And if you’re looking to round out your party spread, pairing it with easy appetizers like the zesty garlic marinated mushrooms makes for a delightful combo everyone will remember.
Enjoy the creamy, crunchy joy of this trifle and, if you feel like it, drop a comment sharing your favorite twists—I love hearing how others make it their own!
Frequently Asked Questions About Creamy No-Bake Banana Pudding Trifle
Can I make this trifle ahead of time?
Yes! It’s best to assemble the trifle a few hours ahead and refrigerate to let the flavors develop. For maximum crunch, add fresh Nilla wafers just before serving.
What can I substitute for Nilla wafers?
Gluten-free vanilla cookies or ladyfingers work well. You can also use crushed graham crackers or shortbread for a slightly different texture and flavor.
How long does the trifle keep in the fridge?
Stored in an airtight container, it stays good for up to 3 days. Keep in mind the wafers will soften over time, so fresh layering before serving helps maintain crispness.
Can I use homemade pudding instead of instant mix?
Absolutely! Homemade vanilla pudding made with milk, sugar, eggs, and cornstarch can be used for a more natural option. Just let it cool and thicken before layering.
What’s the best way to prevent bananas from browning in the trifle?
Lightly brushing banana slices with lemon juice helps slow browning. Alternatively, add bananas just before serving for the freshest look and taste.
Pin This Recipe!
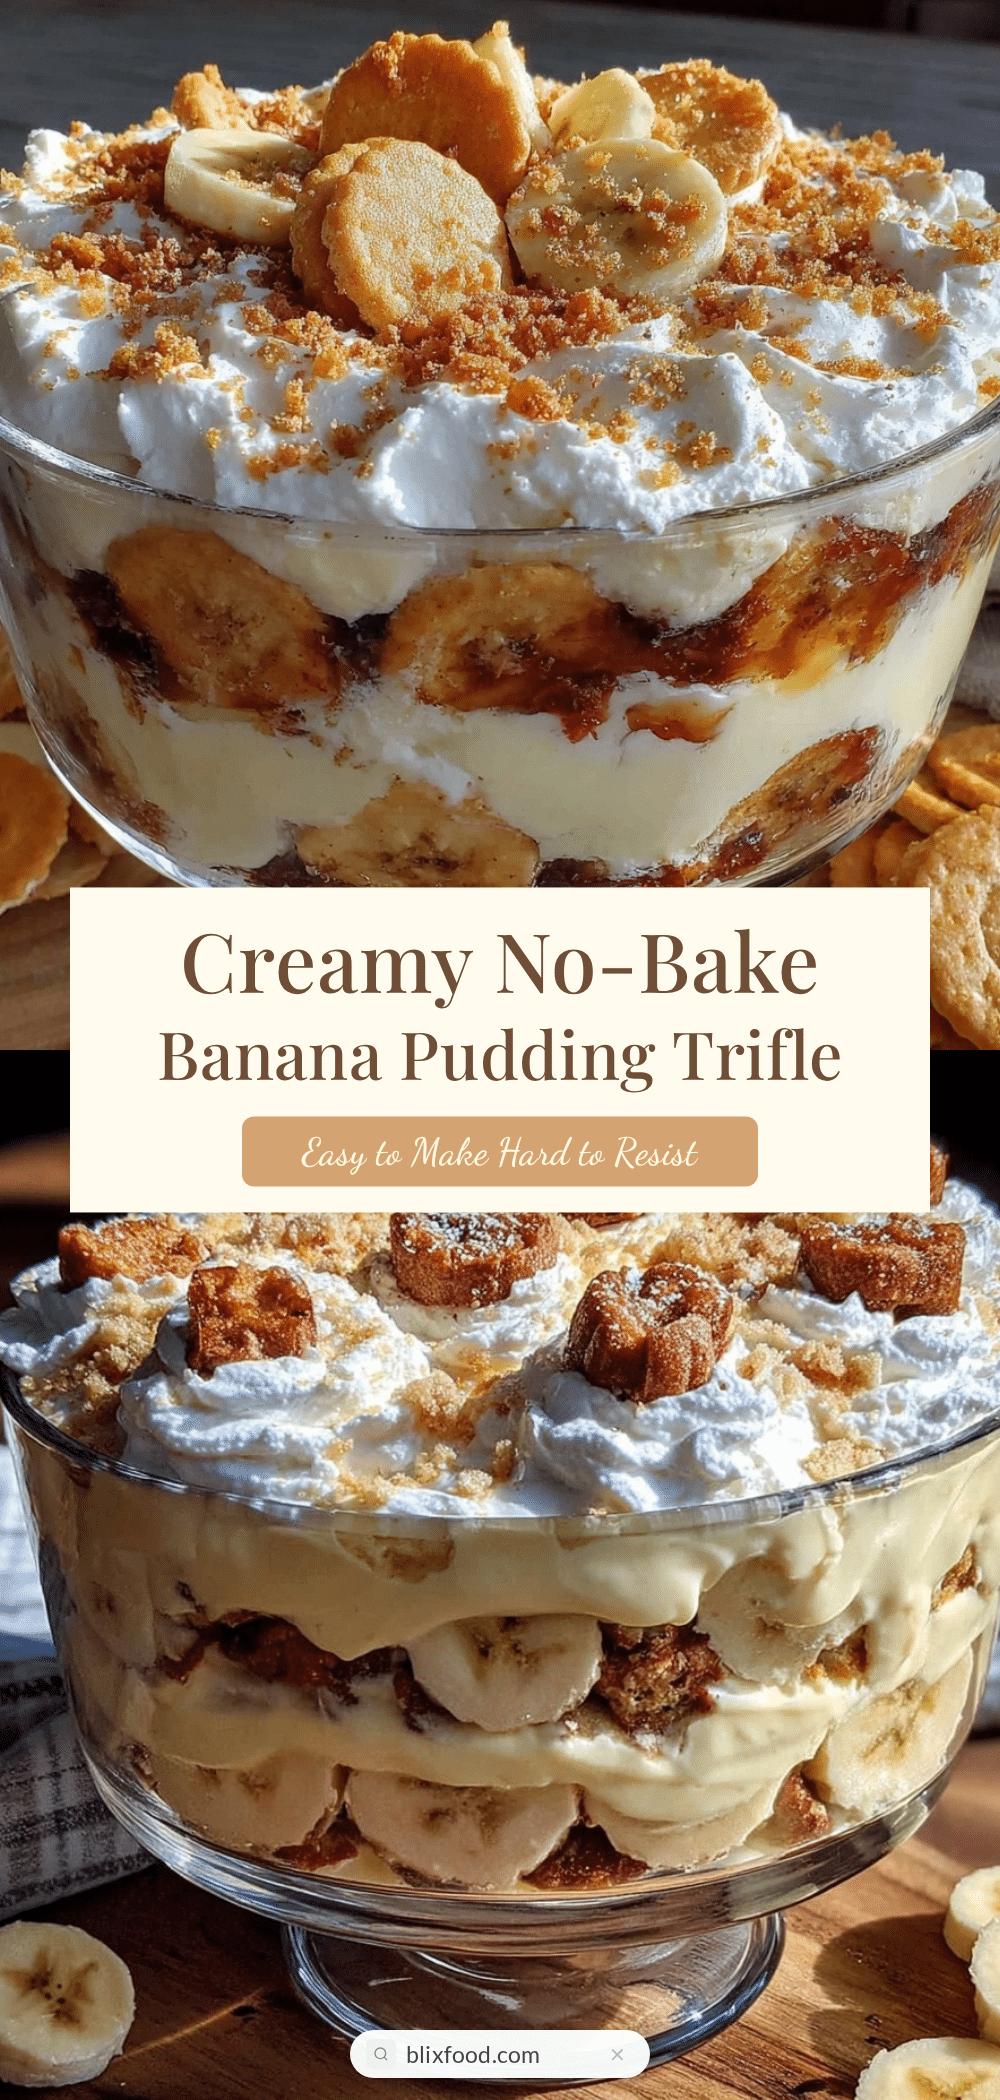
Creamy No-Bake Banana Pudding Trifle

A quick and easy no-bake dessert featuring layers of silky vanilla pudding, fresh bananas, and crunchy Nilla wafers, perfect for summer gatherings.
- Prep Time: 15 minutes
- Cook Time: 0 minutes
- Total Time: 2 hours 15 minutes
- Yield: 8 servings 1x
- Category: Dessert
- Cuisine: American
Ingredients
- 1 package (3.4 oz / 96 g) instant vanilla pudding mix
- 2 ½ cups (600 ml) whole milk (or almond milk for dairy-free)
- 1 cup (240 ml) heavy whipping cream
- 2 tablespoons granulated sugar
- 4 medium ripe bananas, peeled and sliced
- About 60 grams (2 oz) Nilla Wafers
- 1 teaspoon vanilla extract
- Optional: pinch of salt
- Optional: splash of bourbon or rum
Instructions
- Prepare the pudding: In a large bowl, whisk together the instant vanilla pudding mix and whole milk. Whisk for about 2 minutes until the mixture thickens. Set aside for 5 minutes to fully set.
- Whip the cream: In a chilled mixing bowl, combine the heavy whipping cream, granulated sugar, and vanilla extract. Using an electric mixer, whip on medium-high speed until soft peaks form, about 3-4 minutes. Avoid overwhipping.
- Fold the whipped cream into the pudding: Gently fold about half of the whipped cream into the set pudding using a spatula. Save the remaining whipped cream for layering.
- Slice the bananas: Peel and slice bananas into ¼-inch thick rounds. Optionally brush with lemon juice to prevent browning.
- Layer the trifle: In a trifle bowl or serving dish, start with a layer of Nilla wafers (about one-third of the total), then a layer of banana slices, followed by a layer of the pudding-whipped cream mixture. Spoon a layer of plain whipped cream over that, smoothing gently.
- Repeat the layers two more times or until ingredients run out, finishing with a top layer of whipped cream. Reserve a few Nilla wafers for garnish.
- Chill the trifle: Cover with plastic wrap and refrigerate for at least 2 hours, ideally 4, to let flavors meld and wafers soften slightly but retain some crunch.
- Garnish and serve: Just before serving, garnish the top with remaining Nilla wafers and optionally banana slices or a sprinkle of cinnamon.
Notes
Keep mixing bowls chilled before whipping cream for better volume. Fold whipped cream gently to keep mixture airy. Layer wafers evenly and not too thick to avoid sogginess. Assemble trifle a few hours ahead and add fresh wafers just before serving for maximum crunch. Bananas can be brushed with lemon juice to prevent browning or added just before serving.
Nutrition
- Serving Size: 1 cup (approximate)
- Calories: 280
- Sugar: 22
- Sodium: 180
- Fat: 14
- Saturated Fat: 8
- Carbohydrates: 34
- Fiber: 2
- Protein: 4
Keywords: banana pudding, no-bake dessert, summer dessert, trifle, vanilla pudding, Nilla wafers, easy dessert