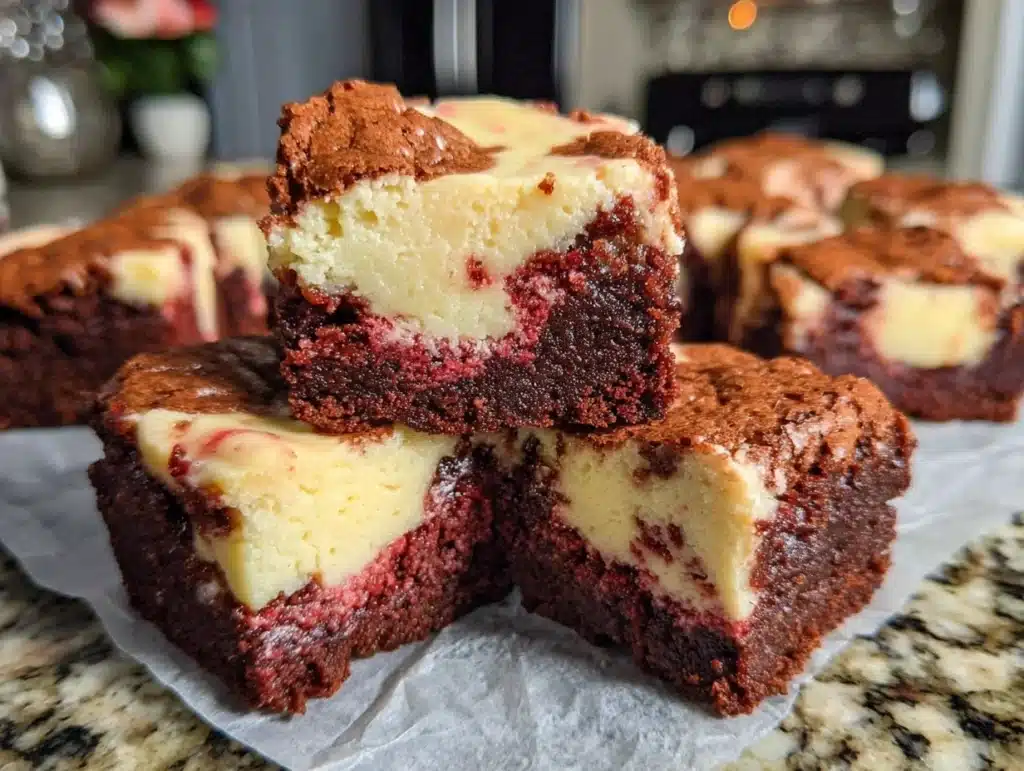
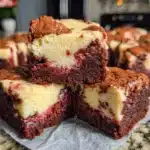
Imagine biting into a dessert so luscious, so indulgently decadent, that it feels like a little celebration with every single bite. The creamy tang of velvety cheesecake swirls, the rich and slightly tangy red velvet base, and that fudgy brownie texture—these Creamy Red Velvet Cheesecake Brownies are pure perfection. Honestly, the first time I pulled these out of the oven, my kitchen smelled like a bakery straight out of my dreams. My family couldn’t stop sneaking pieces off the cooling rack (and I can’t blame them).
It was one of those rainy afternoons when I stumbled upon the idea of combining red velvet cake and cheesecake into brownies. A little experimenting later, I knew I had something special—the kind of recipe you bookmark and never let go of. These brownies have quickly become a staple in my rotation for family gatherings and gifting. Whether it’s a cozy holiday dessert or a random Tuesday pick-me-up, they always hit the spot. Trust me, you’re going to want to make these immediately.
Why You’ll Love This Recipe
- Quick & Easy: These brownies come together in under an hour, making them perfect for busy schedules or last-minute dessert cravings.
- Simple Ingredients: No need for fancy shopping trips—most of these ingredients are pantry staples.
- Perfect for Special Occasions: Whether it’s Valentine’s Day or a festive gathering, these brownies are an instant crowd-pleaser.
- Unbelievably Delicious: The creamy cheesecake layer paired with the cocoa-rich red velvet base is nothing short of magical.
- Customizable: You can tweak the flavors and colors to fit any theme or dietary preference.
What sets these apart from other brownies? The combination of red velvet’s slightly tangy, cocoa-rich flavor and the indulgent creaminess of cheesecake creates a dessert that feels both nostalgic and sophisticated. Plus, the vibrant red color makes them visually stunning, perfect for Pinterest-worthy dessert boards.
These brownies aren’t just good—they’re the kind of dessert that makes you pause, smile, and savor every bite. Whether you’re impressing guests or indulging yourself, this recipe turns any moment into something special.
What Ingredients You Will Need
This recipe uses simple, wholesome ingredients to deliver bold flavors and a satisfying texture without the fuss. Here’s what you’ll need:
For the Brownie Base:
- 1 cup (226g) unsalted butter, melted
- 2 cups (400g) granulated sugar
- 4 large eggs, room temperature
- 1/4 cup (20g) unsweetened cocoa powder
- 1 tablespoon red food coloring (gel preferred for more vibrant color)
- 2 teaspoons vanilla extract
- 1/2 teaspoon white vinegar (adds a subtle tang and enhances the red velvet flavor)
- 1 1/4 cups (156g) all-purpose flour
- 1/4 teaspoon salt
For the Cheesecake Layer:

- 8 oz (226g) cream cheese, softened
- 1/4 cup (50g) granulated sugar
- 1 large egg, room temperature
- 1 teaspoon vanilla extract
If you’re out of red food coloring, you can substitute beet powder or leave it out for a more natural look—it’ll still taste amazing!
Equipment Needed
Here’s what you’ll need to whip up these heavenly brownies:
- Mixing bowls: Large and medium-sized for the brownie and cheesecake mixtures.
- Electric mixer or hand whisk: To achieve that smooth cheesecake texture.
- 8×8-inch baking pan: A glass or metal pan works perfectly. Line it with parchment paper for easy removal.
- Spatula: For spreading the batter evenly and creating those picture-perfect swirls.
- Toothpick or skewer: To test doneness and create the swirls.
If you don’t have an electric mixer, a sturdy whisk and some elbow grease will do the trick for the cheesecake layer!
Preparation Method
Step-by-Step Instructions:
- Preheat your oven to 350°F (175°C). Line an 8×8-inch baking pan with parchment paper, leaving some overhang for easy removal later.
- In a large mixing bowl, whisk together the melted butter and sugar until smooth.
- Add the eggs, one at a time, beating well after each addition. Stir in the cocoa powder, red food coloring, vanilla extract, and vinegar until fully combined.
- Gradually add the flour and salt to the wet ingredients, folding gently until no streaks of flour remain. Be careful not to overmix!
- Pour about 3/4 of the brownie batter into the prepared pan, spreading it evenly with a spatula.
- In a separate bowl, beat the softened cream cheese and sugar together until smooth and creamy. Add the egg and vanilla extract, and mix until incorporated.
- Spread the cheesecake mixture over the brownie layer in the pan. Use a spatula to smooth it out evenly.
- Dollop the remaining brownie batter on top of the cheesecake layer. Use a toothpick or skewer to gently swirl the brownie and cheesecake layers together for that signature marbled look.
- Bake for 30-35 minutes, or until a toothpick inserted into the center comes out with a few moist crumbs. Don’t overbake—it’s better to err on the side of slightly underbaked for a fudgy texture.
- Let the brownies cool completely in the pan before lifting them out using the parchment paper. Slice into squares and enjoy!
Cooking Tips & Techniques
- Don’t Overmix: Overmixing the batter can lead to tough brownies. Fold the dry ingredients gently until just combined.
- Use Room Temperature Ingredients: This ensures the cheesecake layer blends smoothly and bakes evenly.
- Perfect Swirls: To get those beautiful marbled swirls, don’t overdo it—just a few gentle strokes will do the trick.
- Check for Doneness: Use a toothpick to test the brownies. Look for moist crumbs rather than a totally clean toothpick to avoid dry brownies.
- Chill Before Slicing: For clean cuts, refrigerate the brownies for at least an hour before slicing.
Variations & Adaptations
- Gluten-Free Option: Swap the all-purpose flour for gluten-free baking flour. Make sure it’s a 1:1 substitution variety.
- Low-Sugar Version: Use a sugar substitute like monk fruit sweetener or erythritol for the brownie and cheesecake layers.
- Seasonal Twist: Add crushed peppermint candies during the holidays or swirl in some caramel sauce for fall gatherings.
- Vegan-Friendly: Use a dairy-free cream cheese alternative and flaxseed meal mixed with water as an egg substitute.
When I’m feeling adventurous, I like to sprinkle chopped nuts or mini chocolate chips on the cheesecake layer before swirling. It adds a delightful crunch and even more flavor!
Serving & Storage Suggestions
These Creamy Red Velvet Cheesecake Brownies are best enjoyed slightly chilled or at room temperature. Their gorgeous red color makes them perfect for serving on a pretty platter at parties or brunches.
Pair them with a cup of coffee or a tall glass of milk for the ultimate indulgence. They also make for an excellent dessert alongside a scoop of vanilla ice cream.
To store, place the brownies in an airtight container in the refrigerator for up to 5 days. You can also freeze them for up to 3 months—just wrap each piece individually in plastic wrap and store in a freezer-safe bag. To serve, thaw them overnight in the fridge or microwave for a few seconds for a warm treat.
Nutritional Information & Benefits
Here’s a breakdown of what you’ll be enjoying with each serving of these delicious brownies:
- Calories: Approximately 250 per brownie
- Protein: 4g
- Fats: 12g
- Carbohydrates: 32g
- Sugar: 22g
These brownies are a delicious treat, and while they’re indulgent, the cream cheese adds a protein boost, and the cocoa contains antioxidants. Just be mindful of portion sizes if you’re watching your sugar or calorie intake!
Conclusion
These Creamy Red Velvet Cheesecake Brownies are the ultimate treat for any dessert lover. They’re rich, creamy, and bursting with flavor, and their stunning appearance makes them perfect for any occasion. Whether you’re hosting a party or just treating yourself, this recipe is guaranteed to impress.
Why do I love these brownies so much? They’re like a warm hug in dessert form—comforting, indulgent, and always a hit with family and friends. Plus, they’re so easy to make that you’ll find yourself reaching for this recipe again and again.
If you try this recipe, I’d love to hear about it! Leave a comment below or share your version on Instagram and tag me. I can’t wait to see your creations. Bake a batch today and enjoy every delicious bite!
FAQs
Can I make these brownies ahead of time?
Absolutely! These brownies store beautifully in the fridge for up to 5 days. You can also freeze them for longer storage.
Do I have to use red food coloring?
No, the food coloring is optional. You can leave it out or use beet powder for a natural alternative.
Can I use a boxed brownie mix for the base?
Yes, you can use your favorite boxed mix as a shortcut. Just prepare it as directed and then add the cheesecake layer.
How do I avoid cracks in the cheesecake layer?
Make sure your cream cheese is softened before mixing to ensure a smooth and creamy texture. Avoid overbaking to keep the cheesecake layer moist.
Can I double the recipe?
Yes, you can double the recipe and use a 9×13-inch pan. Keep an eye on the baking time as it may need a few extra minutes.
Pin This Recipe!
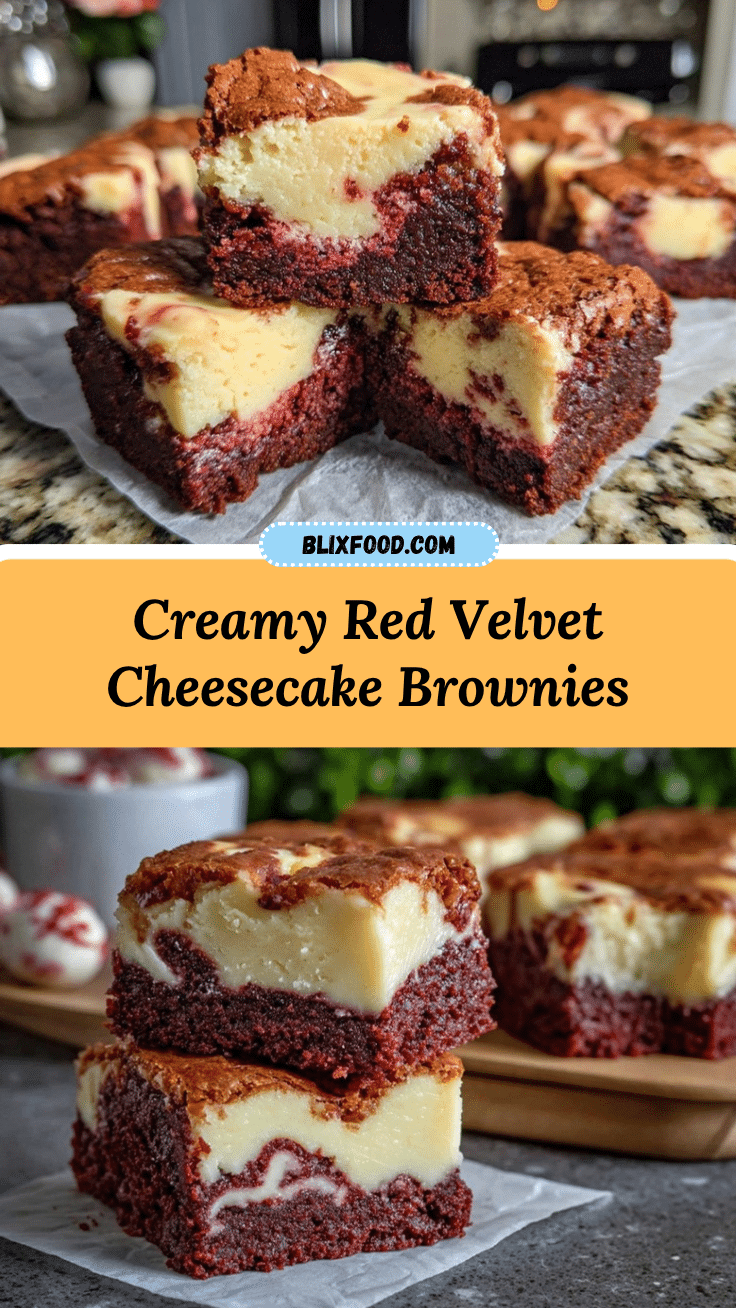
Creamy Red Velvet Cheesecake Brownies
Indulgent and luscious dessert combining the tangy flavor of cheesecake with the rich, cocoa-infused red velvet brownie base. Perfect for any occasion.
- Prep Time: 15 minutes
- Cook Time: 35 minutes
- Total Time: 50 minutes
- Yield: 16 servings 1x
- Category: Dessert
- Cuisine: American
Ingredients
- 1 cup (226g) unsalted butter, melted
- 2 cups (400g) granulated sugar
- 4 large eggs, room temperature
- 1/4 cup (20g) unsweetened cocoa powder
- 1 tablespoon red food coloring (gel preferred for more vibrant color)
- 2 teaspoons vanilla extract
- 1/2 teaspoon white vinegar
- 1 1/4 cups (156g) all-purpose flour
- 1/4 teaspoon salt
- 8 oz (226g) cream cheese, softened
- 1/4 cup (50g) granulated sugar
- 1 large egg, room temperature
- 1 teaspoon vanilla extract
Instructions
- Preheat your oven to 350°F (175°C). Line an 8×8-inch baking pan with parchment paper, leaving some overhang for easy removal later.
- In a large mixing bowl, whisk together the melted butter and sugar until smooth.
- Add the eggs, one at a time, beating well after each addition. Stir in the cocoa powder, red food coloring, vanilla extract, and vinegar until fully combined.
- Gradually add the flour and salt to the wet ingredients, folding gently until no streaks of flour remain. Be careful not to overmix!
- Pour about 3/4 of the brownie batter into the prepared pan, spreading it evenly with a spatula.
- In a separate bowl, beat the softened cream cheese and sugar together until smooth and creamy. Add the egg and vanilla extract, and mix until incorporated.
- Spread the cheesecake mixture over the brownie layer in the pan. Use a spatula to smooth it out evenly.
- Dollop the remaining brownie batter on top of the cheesecake layer. Use a toothpick or skewer to gently swirl the brownie and cheesecake layers together for that signature marbled look.
- Bake for 30-35 minutes, or until a toothpick inserted into the center comes out with a few moist crumbs. Don’t overbake—it’s better to err on the side of slightly underbaked for a fudgy texture.
- Let the brownies cool completely in the pan before lifting them out using the parchment paper. Slice into squares and enjoy!
Notes
[‘Don’t overmix the batter to avoid tough brownies.’, ‘Use room temperature ingredients for a smooth cheesecake layer.’, ‘Refrigerate brownies for at least an hour before slicing for clean cuts.’, ‘You can substitute red food coloring with beet powder or leave it out for a natural look.’]
Nutrition
- Serving Size: 1 brownie
- Calories: 250
- Sugar: 22
- Fat: 12
- Carbohydrates: 32
- Protein: 4
Keywords: red velvet, cheesecake brownies, dessert, easy recipe, baking, holiday dessert, party dessert


