“You’re seriously making ice cream from coconut milk?” my roommate asked, eyeing the blender like it was some sort of scientific experiment. I had just pulled out a can of creamy coconut milk from the pantry, feeling a bit skeptical myself. Honestly, I’d never been super confident about dairy-free ice creams before. They tend to be icy or gritty, you know? But that night, craving something cold and indulgent without the usual heavy cream, I gave it a shot. What happened next was a surprise: this creamy homemade coconut milk ice cream recipe—with just five simple ingredients—turned out silky smooth and utterly satisfying.
The best part? It started as a total accident. I was rushing through a busy weeknight, half distracted by texts from friends planning last-minute hangouts. I needed a quick treat, something easy, and coconut milk was the only creamy base I had on hand. Mixing it with a handful of pantry staples, I popped it in the freezer, not expecting much. But when I scooped that first spoonful, the richness, the subtle coconut flavor, and the luscious texture caught me off guard.
Since then, this recipe has quietly become my go-to dessert fix, perfect for those evenings when you want ice cream but not the fuss or the dairy. It’s the kind of treat that feels indulgent yet somehow light enough to enjoy without guilt. And let’s be honest, it’s a crowd-pleaser that sneaks in a bit of tropical sunshine on any day. I find myself making it again and again, especially when I want something that pairs well with a refreshing homemade popsicle or alongside a plate of easy shrimp salad appetizers.
There’s something quietly rewarding about whipping up a dessert that feels so luxurious but comes together without fuss. This creamy homemade coconut milk ice cream recipe isn’t just a frozen treat—it’s a reminder that simple ingredients can surprise you. When you make it, you’ll see exactly what I mean.
Why You’ll Love This Recipe
After testing countless dairy-free ice creams, this recipe stands out for all the right reasons. Seriously, it’s not just another coconut milk ice cream—it’s the one that got me hooked and keeps me coming back.
- Quick & Easy: Ready in under 10 minutes, this recipe fits perfectly into busy nights or impromptu dessert cravings.
- Simple Ingredients: Only five pantry staples—no need for fancy health food store runs or weird additives.
- Perfect for All Occasions: Whether it’s a summer BBQ, a cozy night in, or a last-minute get-together, this ice cream feels special without being complicated.
- Crowd-Pleaser: Even folks who claim they don’t like coconut find themselves sneaking seconds.
- Unbelievably Delicious: The texture is creamy and smooth, not icy or gritty, thanks to the right balance of coconut fat and sweetener.
- A Unique Twist: Unlike many coconut milk ice creams that rely on stabilizers, this recipe uses a little bit of maple syrup and vanilla to boost natural flavor and sweetness. The secret? Freezing in a shallow pan and stirring occasionally for that perfect scoop.
- Comfort Food with a Twist: It’s a dairy-free dessert that still feels indulgent—good for those who want to treat themselves without the heaviness.
Honestly, this simple coconut milk ice cream has turned into my favorite make-ahead dessert. It’s the kind of recipe that I trust to impress friends or calm a hectic day with something sweet and satisfying.
What Ingredients You Will Need
This recipe uses simple, wholesome ingredients to deliver bold flavor and satisfyingly creamy texture without fuss. Most of these are pantry staples or easy to find at any grocery store.
- Full-fat coconut milk (1 can, about 13.5 oz / 400 ml) – The key to creaminess. I always go for a trusted brand like Thai Kitchen or Native Forest for best texture.
- Maple syrup (1/3 cup / 80 ml) – Adds natural sweetness and a subtle depth. You could swap honey here if you prefer.
- Vanilla extract (1 teaspoon) – Boosts flavor and rounds out the coconut’s natural sweetness.
- Salt (a pinch) – Just a little to balance the flavors and make everything pop.
- Lime juice (1 tablespoon) – Optional, but highly recommended for a fresh zing that cuts through the richness.
For those who want to try variations, using almond or cashew milk instead of coconut milk will change the texture quite a bit, so I don’t recommend that here. But if you prefer a vegan sweetener, maple syrup is your best bet for that authentic flavor.
Equipment Needed
- Medium mixing bowl – To combine your ingredients before freezing.
- Whisk or hand mixer – For blending the coconut milk and syrup until smooth.
- Freezer-safe shallow pan or loaf pan – Ideal for freezing the ice cream evenly. Using a shallow pan helps it freeze quicker and makes stirring easier.
- Spatula or wooden spoon – For stirring the mixture during freezing.
- Measuring cups and spoons – Precise measurements make all the difference in texture.
- Optional: ice cream maker – If you have one, it’s a quick way to churn this recipe. But honestly, the no-churn method works great and is less hassle.
I usually rely on my trusty loaf pan when making this ice cream—it’s budget-friendly and works like a charm. If you ever use an ice cream maker, just keep an eye on the consistency; coconut milk can freeze a bit differently than dairy.
Preparation Method
- Chill the coconut milk: Put the can of full-fat coconut milk in the fridge overnight or at least 6 hours. This helps the cream separate and thicken, which is crucial for that creamy texture.
- Prepare the mixture (about 10 minutes): Open the chilled coconut milk and scoop out the thick cream into a mixing bowl—reserve the thinner liquid for smoothies or cooking. Whisk in the maple syrup, vanilla extract, pinch of salt, and lime juice until smooth and well combined.
- Taste and adjust: This is your moment to tweak sweetness or acidity. I usually add a tiny extra splash of lime juice if it feels too rich.
- Freeze the mixture: Pour the blend into your shallow freezer-safe pan. Place it in the freezer uncovered for about 45 minutes.
- Stir: After 45 minutes, remove the pan and stir vigorously with a spatula or wooden spoon to break up any ice crystals. Return to freezer.
- Repeat stirring every 30 minutes for 2-3 hours until the ice cream is firm and creamy. This mimics churning and prevents iciness.
- Final freeze: Let the ice cream sit undisturbed for at least 4 hours or overnight for best scoopability.
- Serve: Before scooping, let the ice cream thaw at room temperature for 5-10 minutes to soften slightly. This makes scooping easier and enhances creaminess.
Pro tip: If you want to speed up stirring steps, use a fork for fluffier texture. Also, don’t skip the lime juice—it’s a small step that makes a big flavor difference.
Cooking Tips & Techniques
Making homemade coconut milk ice cream is easier than you think, but a few tricks make all the difference.
- Use full-fat coconut milk: The fat content is what creates that creamy mouthfeel. Low-fat versions won’t freeze as well and tend to get icy.
- Chill your ingredients: Starting with cold coconut cream helps the mixture whip up better and freeze smoothly.
- Don’t skip stirring during freezing: It’s tempting to let it freeze solid, but stirring every 30 minutes is key to breaking up ice crystals. I’ve learned this the hard way after ending up with a block of coconut ice instead of creamy ice cream.
- Maple syrup is the secret sweetener: It blends well with coconut and doesn’t freeze rock-hard like granulated sugar.
- Adding a splash of lime juice: Sounds odd, but acidity balances richness and keeps flavors bright. I always add it now, after my first batch lacked that zing.
- Multitasking tip: While your ice cream is freezing, you can prep some quick appetizers, like these zesty garlic marinated mushrooms or whip up a creamy salmon dip for guests.
Variations & Adaptations
This creamy homemade coconut milk ice cream recipe is a great base to customize for different preferences or dietary needs.
- Chocolate Coconut Ice Cream: Add 1/4 cup unsweetened cocoa powder during mixing for a rich, chocolaty twist. Optionally, fold in vegan chocolate chips before freezing.
- Tropical Fruit Swirl: Fold in diced mango or pineapple chunks when the ice cream is half-frozen for a fresh burst of flavor. You could also try a swirl of homemade raspberry sauce for color and tang.
- Nutty Crunch: Stir in toasted coconut flakes or chopped macadamia nuts at the last stirring stage for texture and nutty flavor.
- Low-Sugar Version: Reduce maple syrup to 1/4 cup and add a few drops of liquid stevia if you want a lighter sweetener without sacrificing taste.
- Allergen-Friendly Adaptation: This recipe is naturally gluten-free and vegan. Just be sure to check your vanilla extract and maple syrup brands for cross-contamination if allergies are a concern.
I personally love the tropical fruit swirl during summer; the contrast between creamy coconut and bright mango is unbeatable. It pairs nicely with crispy garlic chicken for an unexpected but delightful meal combo.
Serving & Storage Suggestions
This ice cream is best served slightly softened—let it sit out for 5-10 minutes after removing from the freezer. Scoop it into bowls and garnish with toasted coconut flakes or fresh fruit for a pretty presentation.
It pairs wonderfully with fresh berries, or alongside simple party appetizers like festive cranberry cream cheese spread, adding a cool contrast to savory bites.
Store leftovers in an airtight container in the freezer for up to two weeks. Because it’s homemade and free from stabilizers, the texture may harden a bit over time. To revive creaminess, thaw in the fridge for an hour or on the counter for 10 minutes before serving, then give it a quick stir.
Flavors tend to develop and mellow after a day or two, so if you can wait, letting it sit overnight can make the taste even more rounded.
Nutritional Information & Benefits
Per serving (about 1/2 cup or 120 ml):
| Calories | 180 |
|---|---|
| Fat | 16g (mostly healthy saturated fat from coconut) |
| Carbohydrates | 10g (natural sugars from maple syrup) |
| Protein | 1g |
| Fiber | 0g |
Coconut milk is rich in medium-chain triglycerides (MCTs), which can support energy and metabolism. Using maple syrup instead of refined sugar offers a more natural sweetener with trace minerals. This recipe is naturally dairy-free, vegan, and gluten-free, making it suitable for many dietary needs.
As someone who’s worked with nutritionists, I appreciate that this ice cream balances indulgence with wholesome ingredients. It’s a treat that feels thoughtful—not just empty calories.
Conclusion
This creamy homemade coconut milk ice cream recipe has quietly become one of those few desserts I rely on when I want something sweet, creamy, and effortless. It’s simple, satisfying, and you can trust it to deliver every time. Plus, it’s versatile enough to suit your mood—whether you want classic coconut, a chocolate twist, or a fruity surprise.
Feel free to tweak the sweetness or mix-ins to fit your taste. After all, the best recipes are the ones you make your own.
Personally, I love ending a hot day with a scoop of this ice cream, sitting outside and savoring the creamy coconut flavor that’s just light enough to keep me coming back for more. It’s a little homemade luxury, without any fuss.
Give it a try, and I’d love to hear how you customize yours!
Frequently Asked Questions
Can I use light coconut milk instead of full-fat?
Light coconut milk won’t have enough fat to create a creamy texture and may result in icy, less satisfying ice cream.
Do I need an ice cream maker for this recipe?
Nope! This recipe is designed to be no-churn, using periodic stirring while freezing to achieve creaminess.
How long can I store homemade coconut milk ice cream?
Store it in an airtight container in the freezer for up to two weeks for best taste and texture.
Can I add mix-ins like nuts or fruit?
Absolutely! Add them during the stirring stages to evenly distribute texture and flavor.
Is this recipe vegan and gluten-free?
Yes! It uses plant-based ingredients and contains no gluten, making it suitable for most diets.
Pin This Recipe!
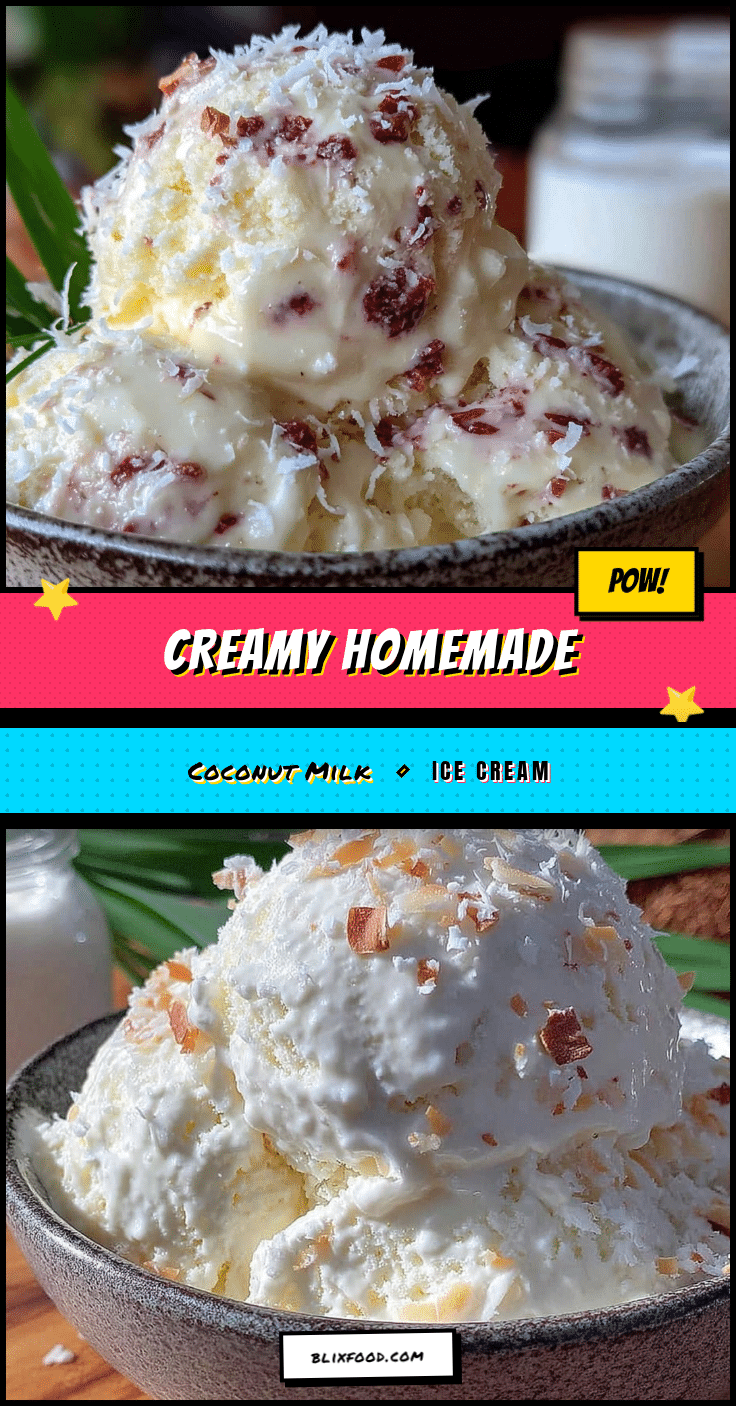
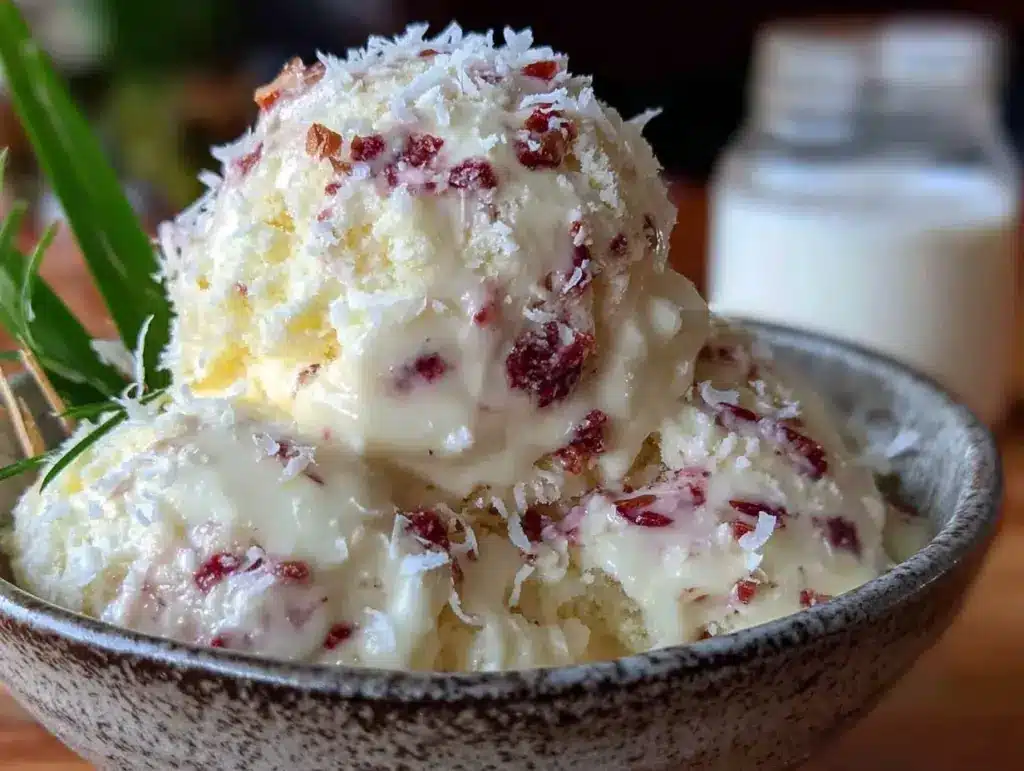
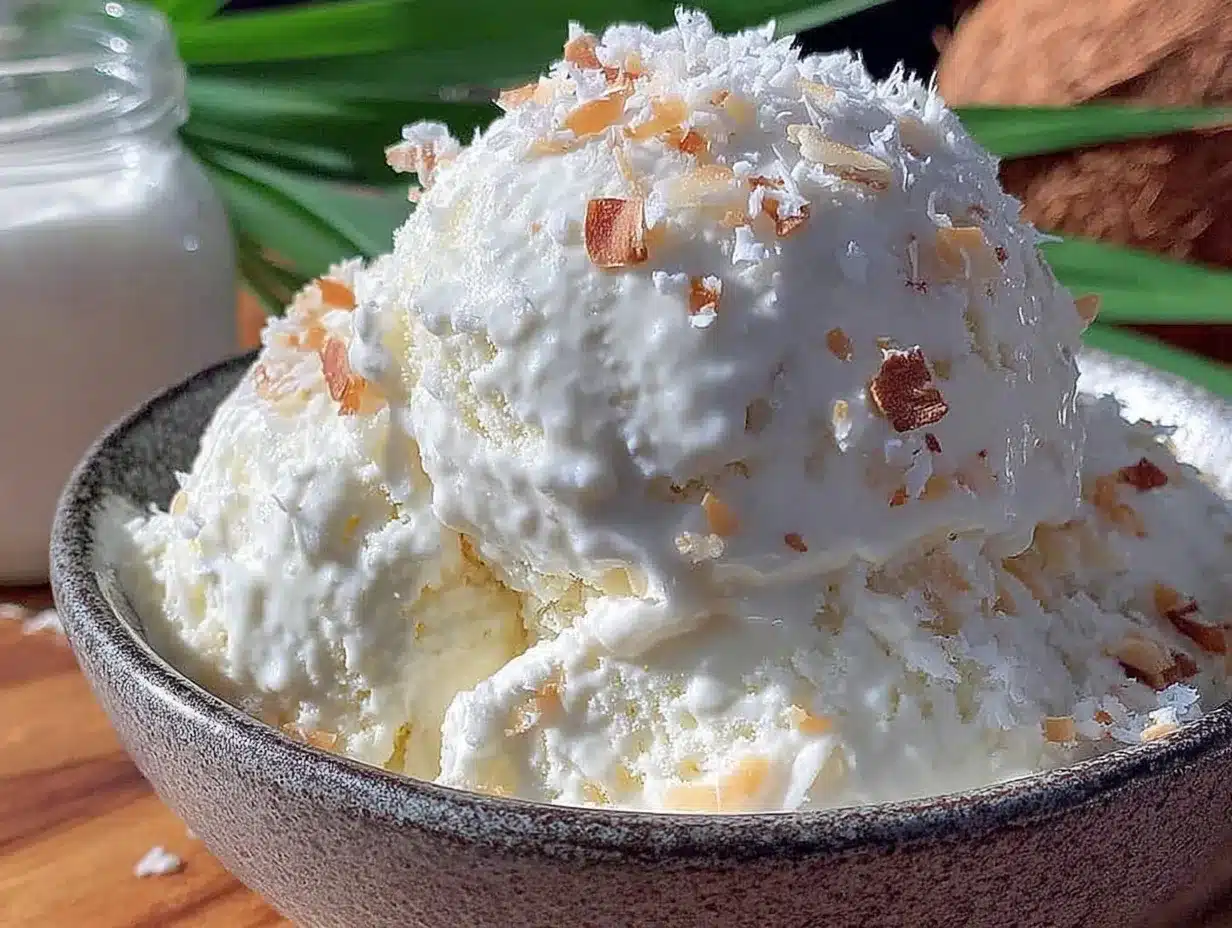
Creamy Homemade Coconut Milk Ice Cream

A silky smooth and utterly satisfying dairy-free ice cream made with just five simple ingredients, perfect for a quick and indulgent treat.
- Prep Time: 10 minutes
- Cook Time: 3 hours 45 minutes
- Total Time: 3 hours 55 minutes
- Yield: 6 servings 1x
- Category: Dessert
- Cuisine: Vegan / Dairy-Free
Ingredients
- 1 can (13.5 oz / 400 ml) full-fat coconut milk
- 1/3 cup (80 ml) maple syrup
- 1 teaspoon vanilla extract
- Pinch of salt
- 1 tablespoon lime juice (optional)
Instructions
- Chill the coconut milk in the fridge overnight or at least 6 hours to allow the cream to separate and thicken.
- Open the chilled coconut milk and scoop out the thick cream into a mixing bowl, reserving the thinner liquid for other uses.
- Whisk in the maple syrup, vanilla extract, pinch of salt, and lime juice until smooth and well combined.
- Taste and adjust sweetness or acidity as desired.
- Pour the mixture into a shallow freezer-safe pan and place it uncovered in the freezer for about 45 minutes.
- Remove the pan and stir vigorously with a spatula or wooden spoon to break up ice crystals, then return to the freezer.
- Repeat stirring every 30 minutes for 2-3 hours until the ice cream is firm and creamy.
- Let the ice cream freeze undisturbed for at least 4 hours or overnight for best scoopability.
- Before serving, let the ice cream thaw at room temperature for 5-10 minutes to soften slightly.
Notes
Use full-fat coconut milk for best creaminess. Stirring every 30 minutes during freezing prevents iciness and mimics churning. Lime juice adds a fresh zing that balances richness. The ice cream is best served slightly softened. Store leftovers in an airtight container in the freezer for up to two weeks.
Nutrition
- Serving Size: 1/2 cup (120 ml)
- Calories: 180
- Fat: 16
- Carbohydrates: 10
- Protein: 1
Keywords: coconut milk ice cream, dairy-free ice cream, vegan dessert, homemade ice cream, coconut dessert, easy ice cream recipe, no churn ice cream