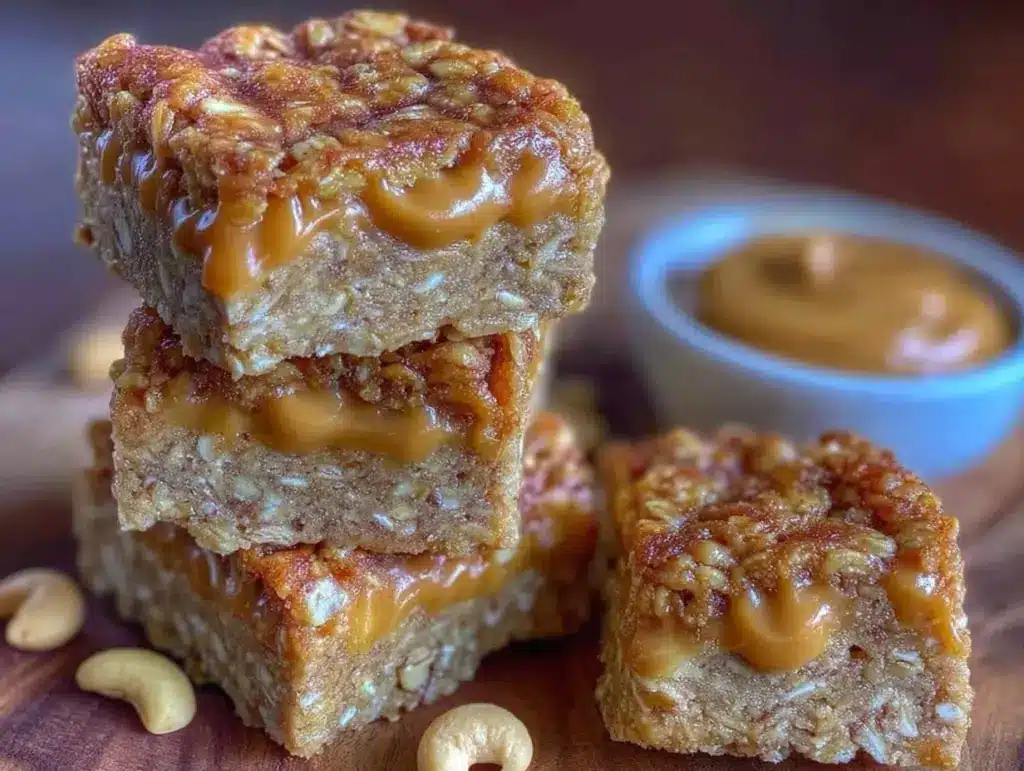
Three-time in a single week and still the sticky edges held firm, the chewy center pulled just right—this Easy No-Bake Peanut Butter Granola Bars recipe had me hooked like a sugar fiend in a candy shop. Honestly, I didn’t plan on making these granola bars so often; I just wanted a quick snack one hectic afternoon. But each batch somehow got devoured faster than I expected, and I found myself tweaking the peanut butter ratio, fiddling with the honey to get that perfect chewiness, and experimenting with just the right oat crunch. There’s something hypnotic about the way the peanut butter melds with the oats, a mix that’s nutty, sweet, and somehow comforting.
At one point, while pressing the mixture into the pan, I caught myself thinking about how many more times I’d make these bars before the month ended. The texture was never quite the same—sometimes a little too soft, other times with a bit more bite—but the taste? Always spot on. It’s like chasing a snack that fits a mood: quick, chewy, and peanut-buttery enough to feel like a treat but wholesome enough to sneak into a lunchbox or grab before a workout. I’m not kidding when I say that these granola bars became my go-to whenever I needed something simple but satisfying.
What really kept me coming back was the ease—no oven, no complicated steps, just a few ingredients and some pressing action. I remember one evening, while the bars chilled in the fridge, I was already planning my next batch, wondering if adding a sprinkle of sea salt would up the flavor game. Turns out, it did. That subtle salty contrast against the sweet peanut butter became a little secret I quietly savored. So yeah, these Easy No-Bake Peanut Butter Granola Bars stuck with me, not just because they’re tasty, but because they feel like a small, chewy win whenever life’s a bit too fast.
Why You’ll Love This Recipe
After making this recipe multiple times, I can say with some confidence that these Easy No-Bake Peanut Butter Granola Bars are a must-have snack for anyone who loves chewy, nutty goodness without the fuss. Here’s why they’ve become my staple:
- Quick & Easy: Ready in under 20 minutes, no baking needed, which means fewer dishes and less wait time for hungry snackers.
- Simple Ingredients: You likely have everything in your pantry already—peanut butter, oats, honey—no surprise trips to specialty stores.
- Perfect for On-the-Go: Toss these bars in your bag for a midday pick-me-up, post-workout fuel, or a kid-friendly lunchbox addition.
- Crowd-Pleaser: I’ve brought these bars to casual get-togethers and even packed them for road trips, and they always get devoured first.
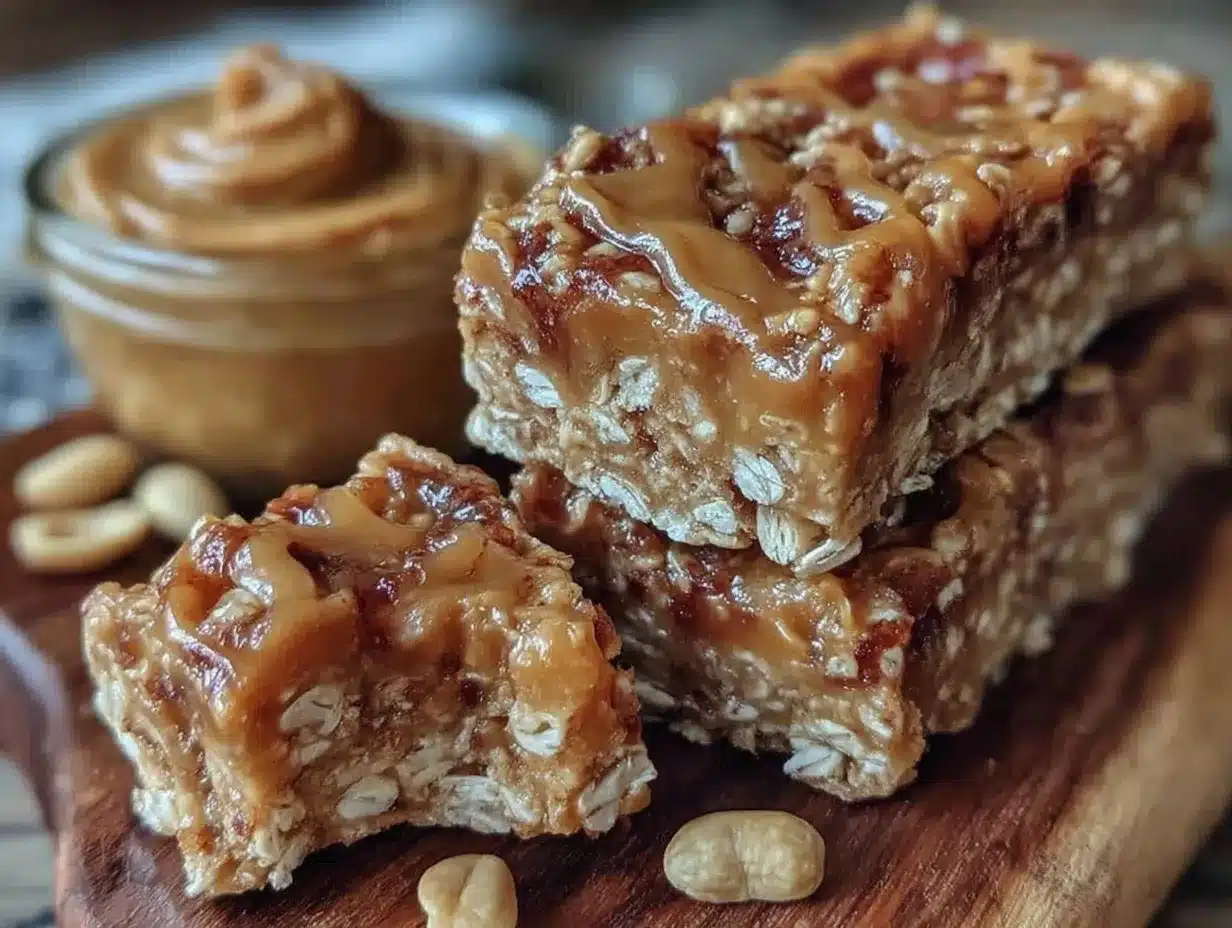
- Unbelievably Delicious: The chewy texture combined with the nutty peanut butter flavor feels like a treat but without the heaviness of traditional candy bars.
This recipe isn’t just another granola bar; the no-bake method keeps the oats tender yet chewy, unlike the dry, crumbly bars you often find. Plus, I like to tweak the honey and peanut butter ratios depending on how sticky or firm I want the bars. Honestly, it’s the kind of recipe where you can play around and still hit that perfect chewy spot every time.
Whether you’re craving a quick snack or looking to impress guests with a simple homemade treat, these bars bring that nostalgic comfort but with a fresh, wholesome vibe. If you’re someone who appreciates snacks that feel both indulgent and practical, this recipe will likely become your obsession too.
What Ingredients You Will Need
This recipe uses simple, wholesome ingredients to deliver bold flavor and satisfying texture without the fuss. Most are pantry staples, making it super convenient to whip up a batch whenever you want.
- Old-fashioned rolled oats (2 cups / 180 g) – The base providing chewy texture; I prefer Bob’s Red Mill for consistent quality.
- Peanut butter (1 cup / 250 g) – Creamy works best for binding and that rich peanut flavor; natural or regular both work fine.
- Honey (1/3 cup / 113 g) – Adds sweetness and helps hold the bars together; you can substitute maple syrup for a vegan option.
- Vanilla extract (1 tsp) – Just a splash to round out the flavors.
- Salt (1/4 tsp) – Enhances the nutty sweetness; feel free to add a pinch more if you like that salty-sweet contrast.
- Mini chocolate chips (optional, 1/4 cup / 45 g) – For a hint of indulgence without overpowering the peanut butter.
- Chopped nuts or seeds (optional, 1/4 cup / 30 g) – Toasted almonds, walnuts, or pumpkin seeds add crunch and nutrition.
If you want a gluten-free version, make sure your oats are certified gluten-free. I like to mix in some flaxseed meal occasionally for extra fiber, which doesn’t change the texture much but boosts the nutrition.
For a dairy-free twist, just swap out the honey for maple syrup and skip the chocolate chips or use dairy-free versions. I’ve tried almond butter too, but peanut butter really wins for that classic flavor.
Equipment Needed
- Mixing bowl: A large one to combine the ingredients comfortably; I find glass bowls easiest to clean and they don’t retain odors.
- Spoon or spatula: For mixing sticky peanut butter and honey together smoothly.
- 8×8-inch (20×20 cm) baking pan or dish: To press the granola mixture into shape; I line mine with parchment paper for easy removal.
- Measuring cups and spoons: For accuracy, especially important with sticky ingredients like honey.
- Microwave-safe bowl or small saucepan: To warm peanut butter and honey gently (if needed) for easier mixing.
If you don’t have a baking pan, any shallow dish with straight sides works. Using parchment paper can save you from scrubbing sticky messes later, which I’ve learned the hard way. No fancy tools are required here—just simple kitchen basics that most home cooks already own.
Preparation Method
- Prepare your pan: Line an 8×8-inch (20×20 cm) baking dish with parchment paper, leaving some overhang on the sides to lift out the bars easily later. This step saves a lot of frustration.
- Mix the wet ingredients: In a microwave-safe bowl, combine 1 cup (250 g) of creamy peanut butter and 1/3 cup (113 g) of honey. Warm in 20-second increments, stirring in between, until the mixture is smooth and pourable but not hot—about 30-40 seconds total. Stir in 1 teaspoon vanilla extract and 1/4 teaspoon salt.
- Combine the dry ingredients: In a large bowl, add 2 cups (180 g) of rolled oats. If using, toss in 1/4 cup (45 g) mini chocolate chips and 1/4 cup (30 g) chopped nuts or seeds.
- Bring it together: Pour the warm peanut butter and honey mixture over the oats. Using a spatula or wooden spoon, fold everything together until all the oats are evenly coated. The mixture should be sticky but not runny.
- Press into the pan: Transfer the mixture to the prepared pan. Press firmly and evenly with your hands or the back of a spatula to compact the granola bars. This is key for chewy bars that stay together well.
- Chill: Place the pan in the fridge for at least 2 hours, or until the mixture is firm enough to cut cleanly.
- Cut and serve: Use the parchment paper edges to lift the block from the pan. Transfer to a cutting board and slice into 12 bars or squares. Store leftovers in an airtight container in the fridge.
Pro tip: If the bars crumble when cutting, try chilling them longer or pressing the mixture more firmly before chilling. When mixing, be gentle to avoid crushing the oats too much, preserving that chewy texture. The smell of peanut butter and honey while mixing? Honestly, that’s half the fun right there.
Cooking Tips & Techniques
While this recipe is pretty straightforward, my many attempts led me to some tips that really make a difference.
- Warming the peanut butter and honey: This step is your friend. It helps everything blend smoothly and ensures the bars stick together well, preventing crumbly bites.
- Pressing firmly: Don’t be shy about packing the mixture tightly in the pan. It feels like overkill, but it results in those chewy, cohesive bars we all crave.
- Chilling time: Give the bars a good chill. Patience here makes slicing easier and bars less likely to fall apart.
- Storing properly: Keep bars refrigerated in an airtight container. I learned the hard way that warm, humid conditions soften them too much, losing that perfect chew.
- Mix-ins: Add-ins like chocolate chips or toasted nuts add texture and flavor contrast. I recommend adding them last and folding gently to avoid melting or crushing.
- Batch size: This recipe scales easily, but if you double it, use a larger pan to keep the bars the right thickness.
One time I skipped the vanilla, and honestly, the bars felt flat. That little splash really brightens the flavor. Also, if your peanut butter is super natural and oily, give it a good stir before measuring to keep the texture consistent.
Variations & Adaptations
These granola bars are versatile and can be customized to suit different tastes and dietary needs. Here are some variations I’ve tried or recommend:
- Chocolate Lovers’: Stir in 1/4 cup (45 g) cocoa powder with the dry ingredients and add extra mini chocolate chips for a fudgy twist.
- Nut-Free: Swap peanut butter for sunflower seed butter or tahini and use pumpkin or sunflower seeds instead of nuts.
- Fruit & Fiber Boost: Add 1/4 cup (40 g) dried cranberries or raisins and 2 tablespoons flaxseed meal for extra chew and nutrition.
- Protein-Packed: Mix in a scoop of your favorite protein powder (vanilla or unflavored) into the oats for a post-workout snack.
- Seasonal Twist: Add a pinch of cinnamon and nutmeg during fall, or a splash of orange zest in spring for a bright flavor lift.
For a different cooking method, I once tried warming the bars slightly in the oven after chilling to soften them for a gooier bite, but honestly, the no-bake chill is the magic. I also recommend checking out the zesty garlic marinated mushrooms for another quick, flavorful no-cook recipe that pairs well with savory snacks.
Serving & Storage Suggestions
Serving these granola bars is as easy as cutting and grabbing, but here are some ideas to make your snack time a bit more special:
- Serving Temperature: Enjoy chilled or at room temperature. Chilled bars hold their shape better, but a few minutes out of the fridge softens them nicely.
- Pairings: Serve alongside a glass of cold milk, your favorite coffee, or a fresh fruit salad for a balanced snack.
- Lunchbox Idea: Wrap bars individually in parchment or beeswax wraps for easy grab-and-go snacks.
- Storage: Store bars in an airtight container in the refrigerator for up to one week. For longer storage, freeze them in a single layer on a baking sheet, then transfer to a freezer-safe bag for up to 3 months.
- Reheating: If frozen, thaw bars at room temperature for 15-20 minutes or microwave for 10-15 seconds to soften.
- Flavor Development: Bars taste even better after a day or two as the flavors meld—perfect for prepping snacks ahead of time.
These bars make a great companion to the creamy dips like the creamy salmon dip or the fresh crunch of the fresh shrimp salad appetizers when you want to mix savory and sweet for a party spread.
Nutritional Information & Benefits
Per bar (based on 12 bars): approximately 180 calories, 7g fat, 23g carbohydrates, 4g protein, and 3g fiber.
The key ingredients, peanut butter and oats, provide good sources of protein and fiber which help keep you full. Peanut butter delivers heart-healthy monounsaturated fats and vitamin E, while oats contribute beta-glucan, a soluble fiber known to support heart health.
This recipe is naturally gluten-free if you use certified gluten-free oats and can be adapted for vegan diets by swapping honey with maple syrup. Keep in mind, peanuts are a common allergen, so substitute accordingly if needed.
I like having a bar on hand when I need a wholesome energy boost without reaching for processed snacks. It’s a balanced way to satisfy cravings and fuel my busy days.
Conclusion
This Easy No-Bake Peanut Butter Granola Bars recipe is the kind of snack that sticks with you—not just because it’s tasty but because it fits effortlessly into life’s busy moments. I love how it’s simple to make, flexible to customize, and reliably chewy with that perfect peanut butter punch.
Feel free to make it your own—add your favorite mix-ins, adjust the sweetness, or try different nut butters. I’ve enjoyed seeing how others tweak this recipe and hearing their stories about it becoming a kitchen staple.
Thanks for reading and if you give these bars a try, I’d love to hear what variations you come up with or how you enjoy them. Here’s to many chewy, peanut buttery snacks ahead!
FAQs
Can I use crunchy peanut butter instead of creamy?
Yes! Crunchy peanut butter adds extra texture and nutty bits, which some people love. Just mix thoroughly to ensure even coating.
How long do these granola bars last?
Stored in an airtight container in the fridge, they last about one week. You can freeze them for up to 3 months for longer storage.
Can I make these bars nut-free?
Absolutely. Replace peanut butter with sunflower seed butter or tahini, and omit nuts or replace them with seeds like pumpkin or sunflower seeds.
What if my bars are too crumbly?
Try pressing the mixture more firmly before chilling and ensure you warm the peanut butter and honey enough to bind well. Also, chill the bars for at least 2 hours before cutting.
Are these bars suitable for kids’ lunchboxes?
They’re perfect! They’re chewy, sweet but not overly sugary, and packed with energy. Just wrap them individually for easy packing.
Pin This Recipe!
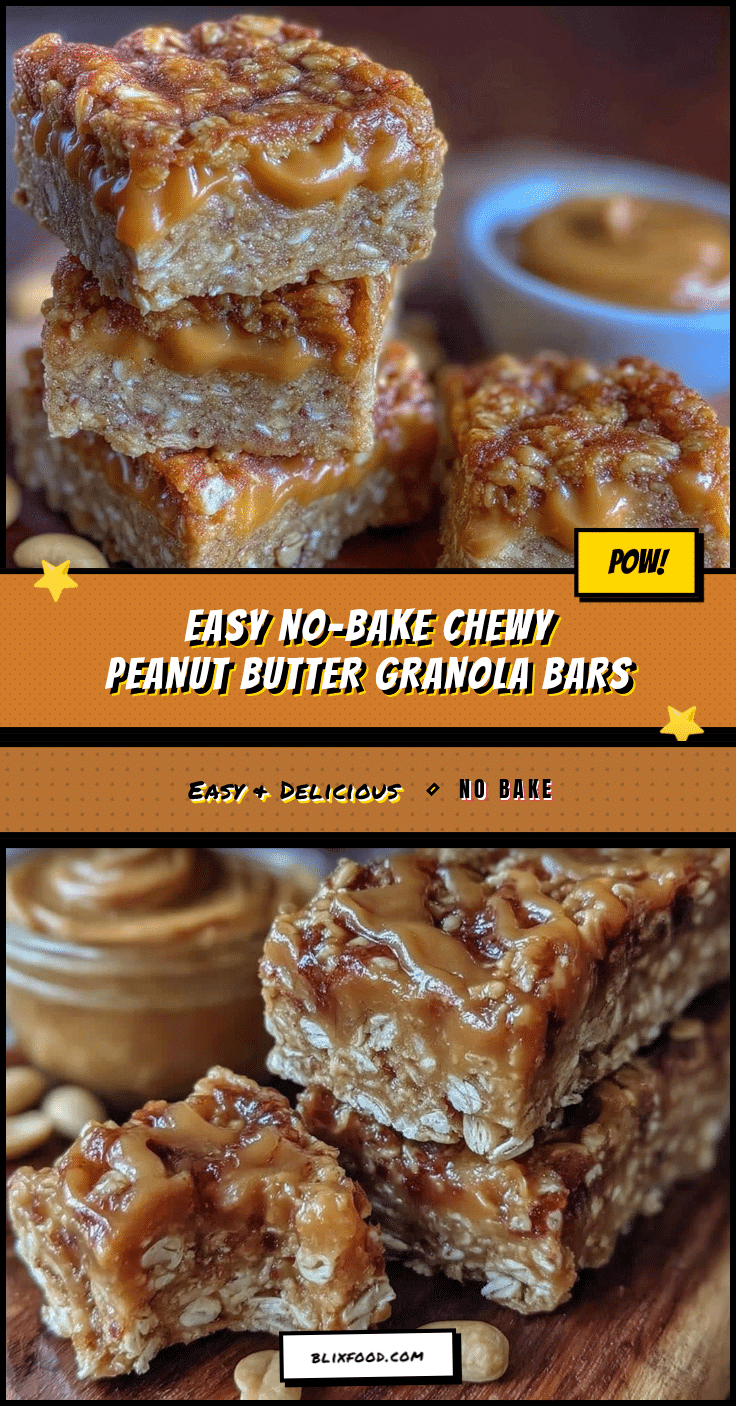
Easy No-Bake Peanut Butter Granola Bars
These chewy, nutty granola bars are quick to make with simple pantry ingredients and require no baking. Perfect for a wholesome snack on-the-go or a kid-friendly lunchbox addition.
- Prep Time: 10 minutes
- Cook Time: 0 minutes
- Total Time: 2 hours 10 minutes
- Yield: 12 bars 1x
- Category: Snack
- Cuisine: American
Ingredients
- 2 cups (180 g) old-fashioned rolled oats
- 1 cup (250 g) creamy peanut butter
- 1/3 cup (113 g) honey (or maple syrup for vegan option)
- 1 teaspoon vanilla extract
- 1/4 teaspoon salt
- 1/4 cup (45 g) mini chocolate chips (optional)
- 1/4 cup (30 g) chopped nuts or seeds (optional)
Instructions
- Line an 8×8-inch (20×20 cm) baking dish with parchment paper, leaving some overhang on the sides.
- In a microwave-safe bowl, combine peanut butter and honey. Warm in 20-second increments, stirring until smooth and pourable but not hot (about 30-40 seconds). Stir in vanilla extract and salt.
- In a large bowl, add rolled oats. If using, add mini chocolate chips and chopped nuts or seeds.
- Pour the warm peanut butter and honey mixture over the oats. Fold together with a spatula until all oats are evenly coated and mixture is sticky but not runny.
- Transfer mixture to the prepared pan. Press firmly and evenly to compact the bars.
- Chill in the refrigerator for at least 2 hours until firm.
- Lift the block from the pan using parchment paper edges and cut into 12 bars. Store leftovers in an airtight container in the fridge.
Notes
Warm peanut butter and honey to blend smoothly and help bars stick together. Press mixture firmly in pan for chewy bars. Chill bars for at least 2 hours before cutting. Store refrigerated in airtight container for up to one week or freeze for up to 3 months. Variations include adding cocoa powder, dried fruit, protein powder, or using nut-free butters.
Nutrition
- Serving Size: 1 bar
- Calories: 180
- Fat: 7
- Carbohydrates: 23
- Fiber: 3
- Protein: 4
Keywords: no-bake, peanut butter, granola bars, chewy snack, easy recipe, healthy snack, kid-friendly, quick snack