For a while, I just accepted that sugar cookies gifted to teachers often looked more like rushed afterthoughts than thoughtful treats. I remember one afternoon, struggling to find a cookie recipe that actually held its shape, tasted like something homemade, and didn’t involve a frosting disaster. The kind of sugar cookie that felt special but didn’t require hours of decorating skills or fancy ingredients – that was missing from my recipe collection.
I’d tried all sorts of cut-out cookies before, but they’d either spread into sad puddles in the oven or ended up dry and crumbly. And royal icing? Honestly, it felt like some kind of witchcraft to me. The icing would crack or stay sticky forever, making the whole thing a mess. So I mostly gave up on the idea of making perfect apple-shaped sugar cookies as a gift. It was easier to buy something, or just skip it altogether.
Then one weekend, while baking for fun, I stumbled onto a mix of tips and tweaks that actually worked. The dough rolled out smoothly, held its shape exactly, and the royal icing dried hard but didn’t crack. The apple decorations came together without stress, with colors that stayed vibrant and shiny. It wasn’t a grand revelation or anything dramatic, just a quiet solution to a problem I’d lived with for years.
Now, these Perfect Apple Teacher Gift Sugar Cookies with Royal Icing have become my go-to for teacher gifts, classroom parties, or whenever I want a sweet but simple treat that feels a little personal. They’re the kind of cookies that make you pause and smile quietly – because they look good, taste great, and carry a little thought without fuss.
Why You’ll Love This Recipe
Honestly, this recipe isn’t just another sugar cookie. It’s been tested through trial and error (and a few failed batches), and it nails what you want in a teacher gift: charming, delicious, and just the right amount of effort.
- Quick & Easy: Comes together in under 90 minutes, perfect for last-minute teacher gifts or after-school baking sessions.
- Simple Ingredients: Uses pantry staples you probably already have—no exotic flour or fancy extracts required.
- Perfect for Gifting: The apple shape is classic and meaningful, great for back-to-school, Teacher Appreciation Week, or holiday presents.
- Crowd-Pleaser: Both kids and adults love these—soft but not too sweet, with just the right balance of buttery flavor.
- Unbelievably Delicious: The royal icing dries to a perfect matte finish, not sticky or cracked, with smooth, vibrant colors that stay put.
What sets this recipe apart is the attention to texture and icing technique. The dough is sturdy but tender, so your apples won’t lose their shape, and the royal icing has a creamy consistency that’s easy to pipe but dries crisp. I also like how the recipe avoids the usual overly sweet sugar cookie trap—this one has a buttery depth that feels homemade, not processed.
Plus, it’s a recipe that anyone can personalize. Whether you’re a beginner or a seasoned baker, you can tweak colors, add little faces or messages, or even combine with other gifts (like a jar of homemade festive cranberry cream cheese spread) to make a thoughtful package. Honestly, it’s a quiet little win in the sometimes-chaotic world of teacher gift-giving.
What Ingredients You Will Need
This recipe uses simple, wholesome ingredients to deliver bold flavor and satisfying texture without the fuss. Most are pantry staples, and I’ll note a few tips to get the best results.
- For the Sugar Cookie Dough:
- 2 ¾ cups (345g) all-purpose flour (I prefer King Arthur for consistent texture)
- 1 teaspoon baking powder (helps the cookies puff just right)
- ½ teaspoon salt (balances sweetness)
- 1 cup (227g) unsalted butter, softened (room temperature for easy mixing)
- 1 ½ cups (300g) granulated sugar (regular white sugar works best here)
- 1 large egg, room temperature (adds moisture and structure)
- 1 tablespoon vanilla extract (pure vanilla extract for best flavor)
- 1 teaspoon almond extract (optional, but adds a subtle warmth)
- For the Royal Icing:
- 3 cups (360g) powdered sugar, sifted (no lumps for smooth icing)
- 2 large egg whites or 4 tablespoons meringue powder mixed with 6 tablespoons water (fresh egg whites give best texture but meringue powder is safer)
- ¼ teaspoon cream of tartar (stabilizes the icing)
- Food coloring gels in red, green, and yellow (AmeriColor or Wilton brands are reliable)
- Optional: a few drops of lemon juice to brighten flavor
Feel free to swap all-purpose flour with a gluten-free blend if needed (just make sure it’s a 1:1 baking blend). For dairy-free, use a vegan butter substitute that behaves like real butter in baking. I once swapped Greek yogurt for half the butter in a different cookie recipe with good results, but for these apples, the butter’s key.
Equipment Needed
- Mixing bowls (preferably glass or metal for egg whites)
- Hand or stand mixer (a stand mixer speeds things up but a hand mixer works fine)
- Rolling pin (a smooth, wooden one is classic; silicone mats help prevent sticking)
- Apple-shaped cookie cutters (around 3 inches wide; set of 3-4 cutters is handy for different sizes)
- Baking sheets lined with parchment paper or silicone baking mats
- Cooling racks (wire racks help cookies cool evenly without sogginess)
- Food-safe piping bags and small round tips (#1 or #2) for royal icing
- Toothpicks (for fine icing details and fixing mistakes)
If you don’t have piping bags, plastic sandwich bags with a tiny corner snipped off work just fine. I’ve used both, and piping bags just give you more control. When cleaning, soak your mixing bowl and beaters immediately to avoid hardened royal icing. For budget-friendly options, silicone mats save cleanup and make rolling dough easier.
Preparation Method

- Mix Dry Ingredients: In a medium bowl, whisk together the flour, baking powder, and salt. Set aside. (This step takes about 5 minutes.)
- Cream Butter and Sugar: In a large bowl, beat the softened butter with granulated sugar on medium speed until light and fluffy—about 3 to 4 minutes. The mixture should look pale and slightly fluffy. (Don’t rush this; it affects the texture.)
- Add Egg and Extracts: Beat in the egg, vanilla extract, and almond extract (if using) until fully combined. The batter might look a bit curdled—this is normal.
- Combine Dry and Wet: Gradually add the flour mixture to the wet ingredients. Mix on low speed until just combined. Avoid overmixing or the cookies could become tough. The dough will be soft but not sticky.
- Chill the Dough: Flatten the dough into a disc, wrap it tightly with plastic wrap, and refrigerate for at least 1 hour (up to 24 hours). Chilling firms the dough, making it easier to roll and helping the cookies keep their shape.
- Preheat Oven and Prepare Baking Sheets: Heat oven to 350°F (175°C). Line baking sheets with parchment paper or silicone mats.
- Roll and Cut: On a lightly floured surface or silicone mat, roll the dough out to about ¼ inch (6 mm) thickness. Use your apple-shaped cookie cutters to cut out shapes, then transfer them gently to the baking sheets, spacing about 1 inch (2.5 cm) apart.
- Bake: Bake cookies for 8 to 10 minutes, until the edges are just starting to turn golden. The centers will look slightly soft but firm up as they cool. (Watch closely to avoid overbaking.)
- Cool: Allow cookies to cool on the baking sheets for 5 minutes before transferring to wire racks to cool completely. This prevents breakage and sogginess.
- Prepare Royal Icing: While cookies cool, whisk together powdered sugar, egg whites (or meringue powder mixture), and cream of tartar. Beat on medium-high speed until stiff peaks form (about 5–7 minutes). Add lemon juice if desired.
- Color and Decorate: Divide icing into bowls for different colors. Add food coloring gels and mix thoroughly. Transfer to piping bags and decorate your apple cookies—outline the shape first, then flood the center with icing. Use toothpicks to smooth and detail. Let dry at room temperature for at least 4 hours or overnight for best results.
Note: If your icing feels too stiff, add a few drops of water to loosen it. Too runny? Add powdered sugar. When piping, steady your hand by resting your elbow on the counter if needed. I’ve found that letting the outline dry slightly before flooding helps prevent colors from bleeding.
Cooking Tips & Techniques
Working with royal icing can be intimidating, but a few tricks make all the difference.
- Use room temperature ingredients: Butter and eggs blend better and give a smoother dough.
- Don’t overwork the dough: Overmixing causes tough cookies. Mix just until combined.
- Chill the dough thoroughly: This stops spreading and keeps your apple shapes crisp.
- Test your oven temperature: An oven thermometer is worth it—too hot or cool, and cookies won’t bake evenly.
- Practice your icing consistency: For outlines, the icing should be thick enough to hold shape; for flooding, thinner but not watery. Use a small spoon of water to adjust.
- Work quickly with royal icing: It dries fast, so divide into small bowls before coloring to avoid waste.
- Use a toothpick for fixes: If icing pools or bubbles, gently pop bubbles or smooth edges with a damp toothpick.
- Don’t stack cookies until fully dried: Stacking too soon ruins the decoration and can make cookies stick together.
I once tried rushing the drying time by putting cookies in the fridge, and the icing got cloudy and sticky—lesson learned. Patience is key here. Also, if you want to speed things along, a small fan blowing gently on the cookies helps dry the icing better than the fridge.
Variations & Adaptations
These apple sugar cookies are a flexible base for all sorts of twists.
- Flavor Variations: Add a pinch of cinnamon or nutmeg to the dough for a warm, spiced note that pairs perfectly with the apple theme.
- Dietary Adaptations: Substitute gluten-free flour blends for a wheat-free version. Use meringue powder instead of egg whites for an allergy-friendly royal icing.
- Decorating Twists: Instead of classic red and green apples, try golden yellow icing or add tiny leaf details with edible markers or sprinkles. You can also pipe little “teacher” messages or stars for personalization.
- Baking Method Adjustments: If you prefer, these cookies can be baked slightly thicker and turned into soft sandwich cookies with a cream cheese frosting filling.
- Personal Variation: I once added a touch of lemon zest to the dough to brighten the flavor, making the cookies feel fresher and more interesting—especially if you’re pairing them with a creamy dip like the creamy salmon dip for a brunch gift basket.
Serving & Storage Suggestions
These sugar cookies are best served at room temperature, letting their buttery flavor and crisp edges shine.
- Arrange on a pretty plate or wrap individually in cellophane tied with a ribbon for gifting.
- Pair with a warm cup of tea or apple cider for cozy fall vibes.
- Store cookies in an airtight container at room temperature for up to 5 days. Placing parchment paper between layers prevents sticking.
- For longer storage, freeze undecorated cookies in a single layer on a baking sheet, then transfer to a freezer bag. Defrost completely before icing.
- Royal icing-decorated cookies can be frozen after drying. Thaw in the container to avoid condensation.
- Flavors mellow and deepen after a day, so if you can wait, that’s ideal.
Nutritional Information & Benefits
Each cookie (depending on size) is roughly 150-180 calories, with around 8 grams of fat and 20 grams of carbohydrates. While not a health food, these cookies use real butter and eggs, avoiding artificial additives common in store-bought treats.
The almond and vanilla extracts add flavor without sugar, and the royal icing is made from simple ingredients, keeping it relatively clean. For those avoiding raw egg whites, meringue powder is a safe alternative, making these suitable for more diets.
As a treat, they fit nicely into balanced eating, especially when shared with friends or as part of a thoughtful gift. They also bring a little homemade joy, which I think counts for something.
Conclusion
These Perfect Apple Teacher Gift Sugar Cookies with Royal Icing fill a quiet gap I once had—a cookie that looks thoughtful, tastes homemade, and doesn’t demand endless time or skill. You can easily customize them to your liking or the teacher’s personality, making each batch feel personal.
Whether you’re baking after school, prepping for a classroom party, or assembling a gift basket with a spread like the festive cranberry cream cheese spread, these cookies quietly impress without fuss.
They’ve stuck around in my baking rotation because they’re reliable and sweet in all the right ways. I hope they find a place in your kitchen, too.
FAQs
- Can I make the dough ahead of time?
Yes, the dough keeps well wrapped in the fridge for up to 2 days or frozen for up to 1 month. - Is it safe to use raw egg whites in royal icing?
If concerned, use pasteurized egg whites or meringue powder, which are safer options. - How do I prevent royal icing from cracking?
Avoid adding too much powdered sugar and let the icing dry slowly at room temperature, not in the fridge. - Can I use store-bought royal icing instead?
You can, but homemade royal icing dries better and tastes fresher. - What if my cookies spread too much during baking?
Make sure your dough is well chilled, and avoid using too much butter. Oven temperature too low can also cause spreading.
Pin This Recipe!
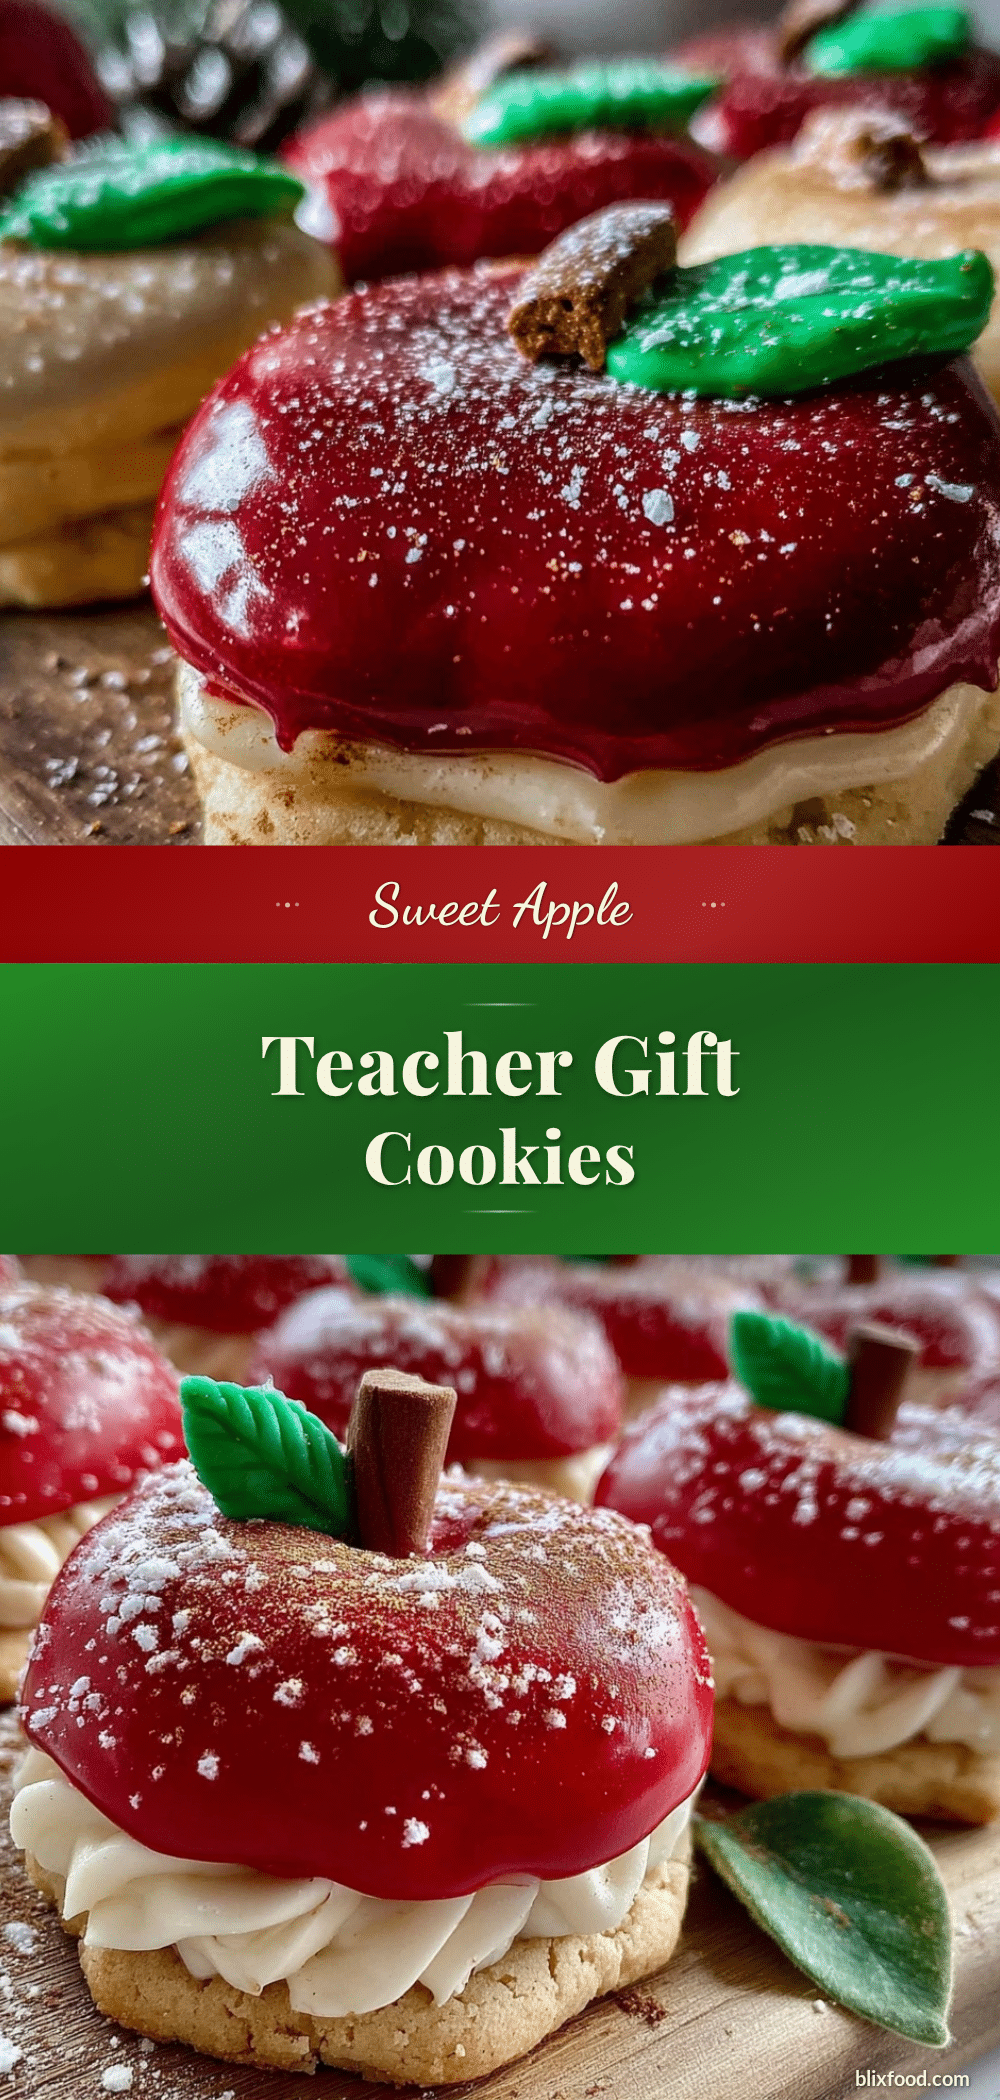
Perfect Apple Teacher Gift Sugar Cookies with Royal Icing

These charming apple-shaped sugar cookies hold their shape perfectly and are topped with smooth, vibrant royal icing that dries hard without cracking. Ideal for teacher gifts, classroom parties, or simple homemade treats.
- Prep Time: 20 minutes
- Cook Time: 10 minutes
- Total Time: 1 hour 30 minutes
- Yield: 24 cookies 1x
- Category: Dessert
- Cuisine: American
Ingredients
- 2 ¾ cups (345g) all-purpose flour
- 1 teaspoon baking powder
- ½ teaspoon salt
- 1 cup (227g) unsalted butter, softened
- 1 ½ cups (300g) granulated sugar
- 1 large egg, room temperature
- 1 tablespoon vanilla extract
- 1 teaspoon almond extract (optional)
- 3 cups (360g) powdered sugar, sifted
- 2 large egg whites or 4 tablespoons meringue powder mixed with 6 tablespoons water
- ¼ teaspoon cream of tartar
- Food coloring gels in red, green, and yellow
- Optional: a few drops of lemon juice
Instructions
- In a medium bowl, whisk together the flour, baking powder, and salt. Set aside.
- In a large bowl, beat the softened butter with granulated sugar on medium speed until light and fluffy, about 3 to 4 minutes.
- Beat in the egg, vanilla extract, and almond extract (if using) until fully combined.
- Gradually add the flour mixture to the wet ingredients. Mix on low speed until just combined. Avoid overmixing.
- Flatten the dough into a disc, wrap tightly with plastic wrap, and refrigerate for at least 1 hour (up to 24 hours).
- Preheat oven to 350°F (175°C). Line baking sheets with parchment paper or silicone mats.
- Roll the dough out to about ¼ inch (6 mm) thickness on a lightly floured surface or silicone mat.
- Use apple-shaped cookie cutters to cut out shapes and transfer them to baking sheets, spacing about 1 inch apart.
- Bake for 8 to 10 minutes until edges start to turn golden. Let cool on baking sheets for 5 minutes, then transfer to wire racks to cool completely.
- While cookies cool, whisk together powdered sugar, egg whites (or meringue powder mixture), and cream of tartar. Beat on medium-high speed until stiff peaks form, about 5–7 minutes. Add lemon juice if desired.
- Divide icing into bowls for different colors, add food coloring gels, and mix thoroughly.
- Transfer icing to piping bags and decorate cookies by outlining first, then flooding the center. Use toothpicks to smooth and detail.
- Let decorated cookies dry at room temperature for at least 4 hours or overnight.
Notes
Use room temperature ingredients for best dough texture. Chill dough thoroughly to prevent spreading. Practice royal icing consistency for outlines and flooding. Let icing dry slowly at room temperature to avoid cracking. Use a toothpick to fix icing bubbles or edges. Do not stack cookies until fully dried. For safer royal icing, use pasteurized egg whites or meringue powder.
Nutrition
- Serving Size: 1 cookie
- Calories: 165
- Sugar: 12
- Sodium: 90
- Fat: 8
- Saturated Fat: 5
- Carbohydrates: 20
- Protein: 1
Keywords: sugar cookies, apple cookies, teacher gift, royal icing, homemade cookies, easy sugar cookies, cut-out cookies, holiday cookies