For a while, I just accepted that homemade ice cream meant either a long wait or a bulky machine clunking away in the kitchen. The craving for a creamy, dreamy cookies and cream ice cream was there, but the hassle of churning or buying pre-made just didn’t quite hit the spot. I remember one afternoon, the sun blazing through the window, and me wishing I could whip up that classic cookies and cream flavor without the fuss of complicated equipment or hours of freezing. It wasn’t about making some fancy dessert—it was about that simple pleasure of cold, creamy, cookie-studded ice cream on a scorching day.
I’d tried a few no-churn recipes before, but they often felt icy or lacked that smooth, rich texture you get from churned ice cream. The chunks of cookies were either too soggy or didn’t have that perfect crunch, and honestly, it was just disappointing. It’s funny how something so simple can be so elusive when you’re trying to make it at home without a machine.
Then there was this quiet moment when I stumbled upon a recipe that finally ticked all the boxes—easy, creamy, no-fuss, and with just the right amount of crushed Oreos to satisfy that cookies and cream obsession. It wasn’t a big breakthrough or anything dramatic, just a recipe that felt like it belonged in the kitchen, not the fancy ice cream parlor. Over time, it has stuck with me, the kind of recipe that’s there when you want to cool off but don’t want to complicate your day.
Why You’ll Love This Recipe
- Quick & Easy: Comes together in under 15 minutes, perfect for busy evenings or unexpected dessert cravings.
- Simple Ingredients: No need for obscure items—just whipping cream, sweetened condensed milk, and your favorite sandwich cookies.
- Perfect for Summer & Parties: Great for backyard barbecues, casual get-togethers, or just a solo treat.
- Crowd-Pleaser: Kids and adults alike seem to devour this every time—because who doesn’t love cookies and cream?
- Unbelievably Creamy: The secret is in gently folding the whipped cream into the condensed milk for that velvety texture without an ice cream maker.
- Customizable: You can easily swap in gluten-free cookies or add mix-ins like chocolate chips or nuts for a personal touch.
What sets this recipe apart is its effortless approach that doesn’t sacrifice that silky, rich mouthfeel we all crave in cookies and cream ice cream. It’s not dense or icy, but light and creamy, making it a perfect homemade treat that feels special without the hassle. Honestly, it’s the kind of recipe that makes you close your eyes after the first bite and smile quietly to yourself.
What Ingredients You Will Need
This recipe uses simple, wholesome ingredients that come together to create bold flavor and satisfying texture without any fuss. Most of these are pantry staples, so chances are you already have them at home.
- Heavy whipping cream – 2 cups (480 ml), cold (this is the star for that creamy, fluffy base)
- Sweetened condensed milk – 1 can (14 oz/396 g) (adds sweetness and richness without extra sugar)
- Vanilla extract – 1 teaspoon (for subtle warmth and depth of flavor)
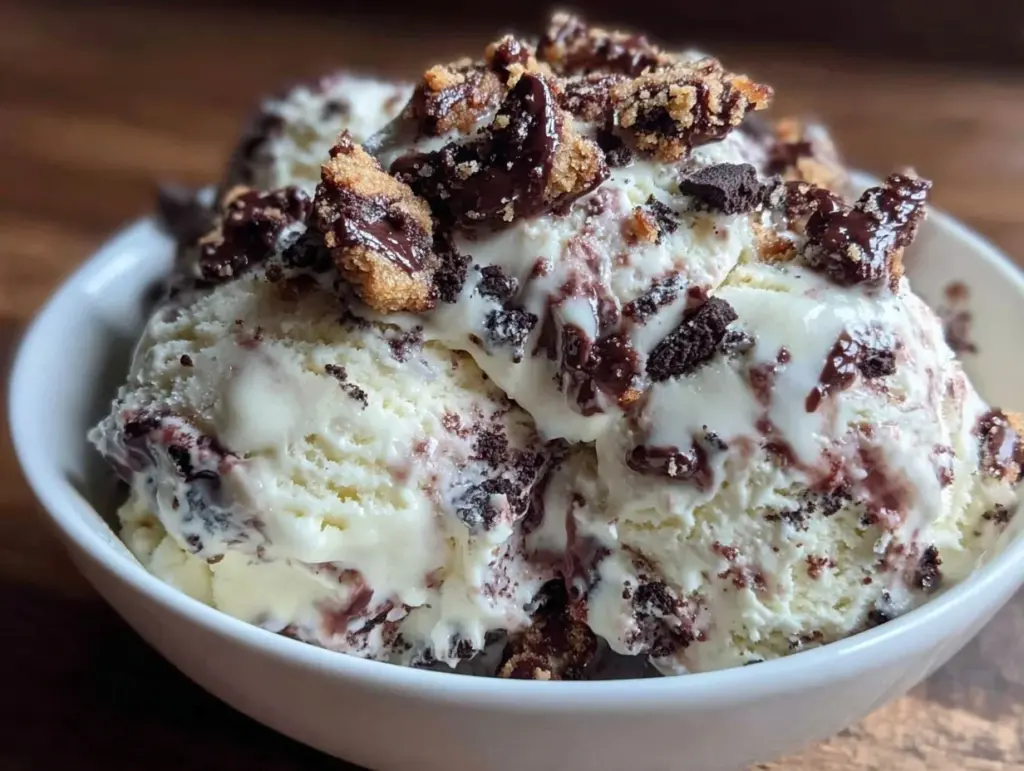
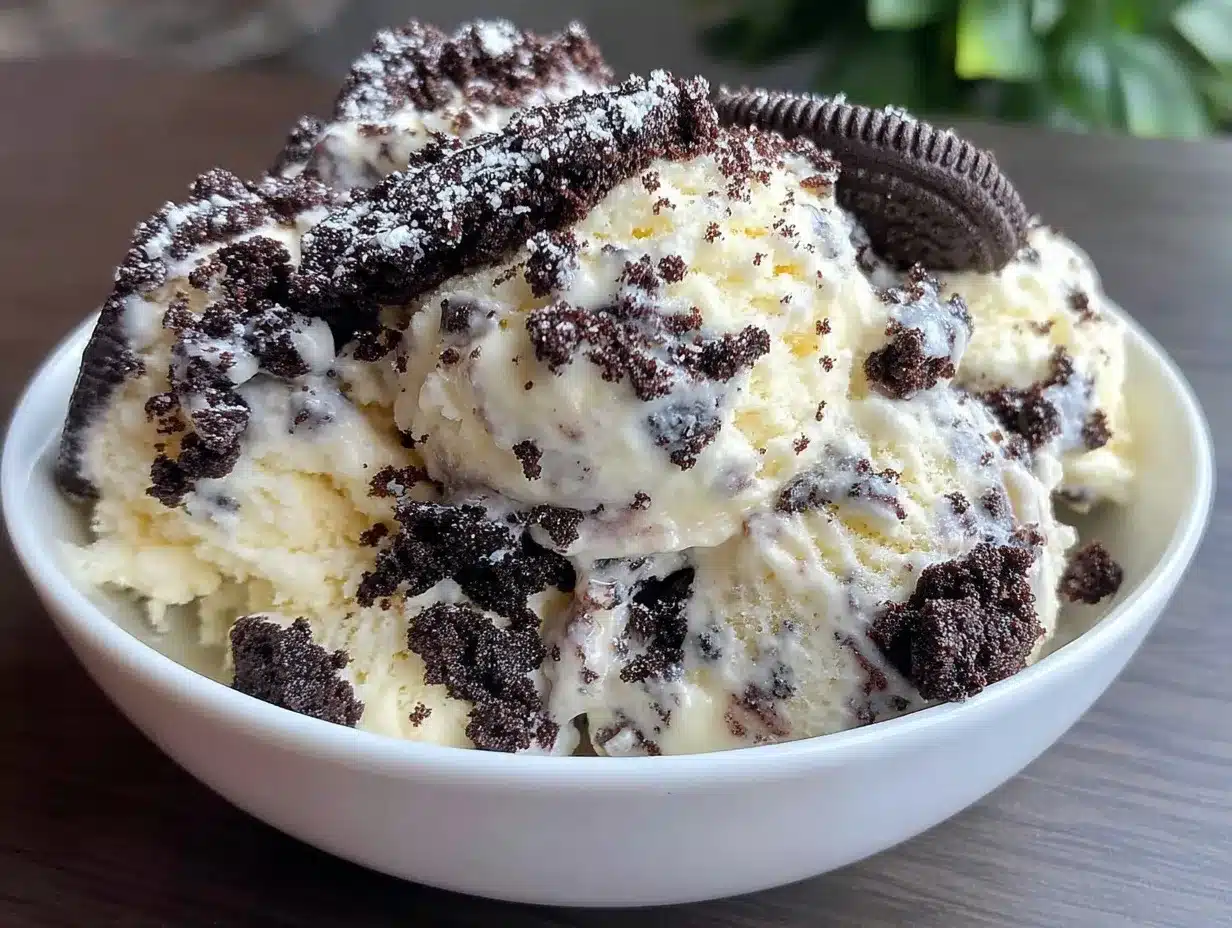
- Oreo cookies – about 15 regular-sized (crushed into chunky pieces; feel free to include some of the cream filling for extra indulgence)
Optional add-ins:
- Mini chocolate chips or chunks (for extra chocolatey bites)
- Chopped nuts like pecans or walnuts (adds crunch and nuttiness)
- Gluten-free sandwich cookies if needed for dietary restrictions
Ingredient Notes: I prefer using fresh, cold heavy whipping cream straight from the fridge because it whips up faster and holds its structure better. As for the cookies, I usually go with Oreo brand simply because they’re classic and easy to find, but any sandwich cookie with a creamy center works great. If you want a seasonal twist, you might swap in peppermint cookies during winter holidays.
Equipment Needed
- Large mixing bowl (preferably chilled to help the cream whip better)
- Electric hand mixer or stand mixer (whipping cream by hand works but takes some arm power!)
- Spatula (for gentle folding to keep the mixture airy)
- 8×8-inch (20×20 cm) loaf pan or similar container (for freezing the ice cream)
- Measuring cups and spoons
- Plastic wrap or airtight lid (to cover the ice cream while freezing)
If you don’t have an electric mixer, a sturdy whisk and some patience will do—though it might take 5-10 minutes of vigorous whipping. I’ve tried both, and an electric mixer definitely saves time and results in a fluffier texture. For budget-friendly options, even a basic hand mixer works fine. Just keep your bowl and beaters cold for best results. I like to chill the mixing bowl in the freezer for 10 minutes beforehand—it really makes a difference in how quickly the cream whips up.
Preparation Method
- Chill your equipment: Place your mixing bowl and beaters in the freezer for about 10 minutes before starting. Cold equipment helps whip the cream faster and better.
- Whip the heavy cream: Pour 2 cups (480 ml) of cold heavy whipping cream into the chilled bowl. Using an electric mixer on medium-high speed, whip the cream until soft peaks form. This usually takes 3-5 minutes. You’ll know it’s ready when the cream holds its shape but still looks smooth and fluffy.
- Mix condensed milk and vanilla: In a separate bowl, combine 1 can (14 oz/396 g) of sweetened condensed milk with 1 teaspoon of vanilla extract. Stir gently until smooth.
- Fold mixtures together: Gently fold the whipped cream into the condensed milk mixture in three batches. Use a spatula to fold carefully to avoid deflating the whipped cream. The goal is a smooth, airy base that’s evenly combined.
- Prepare the cookies: Roughly crush about 15 Oreo cookies into chunky pieces. You want a mix of smaller crumbs and bigger chunks for texture. I find breaking them by hand gives better control than smashing in a bag.
- Fold in cookie pieces: Add the crushed cookies to the ice cream base and fold gently but thoroughly to distribute evenly. If you’re adding nuts or chocolate chips, fold those in now as well.
- Transfer and freeze: Pour the mixture into an 8×8 inch (20×20 cm) loaf pan or similar container. Smooth the top with a spatula.
- Cover and freeze: Cover tightly with plastic wrap or an airtight lid. Freeze for at least 6 hours, preferably overnight, until firm.
- Serve: When ready, let the ice cream sit at room temperature for 5 minutes to soften slightly for easier scooping. Scoop into bowls or cones and enjoy!
Pro tip: If you find your ice cream turns icy or grainy, it’s usually because the whipped cream wasn’t whipped enough or the folding was too vigorous, deflating the airiness. Keep things gentle and fluffy for the best texture.
Cooking Tips & Techniques
Whipping cream to the perfect consistency is the trickiest part of no-churn ice cream, honestly. If you whip too little, the mixture won’t hold air and the ice cream ends up dense. Whip too much, and you risk turning the cream into butter! I usually stop at soft peaks—when the cream holds shape but is still smooth and billowy.
Folding is another skill that takes practice. You want to fold the whipped cream into the condensed milk gently—like you’re folding a fragile souffle. Quick stirring will knock out the air and lead to a heavy texture. I learned this the hard way after a few batches of disappointing ice cream.
Crushing the cookies is more fun than it sounds. I prefer chunky pieces because they keep a nice bite rather than turning into crumbs that just blend into the base. Breaking cookies by hand, rather than with a food processor, helps keep that texture intact.
Also, chilling your mixing bowl and beaters beforehand is a subtle step that really helps the cream whip up faster and hold better. It’s a small thing but makes a difference, especially on warm days.
Lastly, patience is key when freezing. Resist the temptation to dig in before it’s fully set. This recipe freezes nicely overnight and sometimes the flavors even get better after a day or two, as the cookies soften just a little, melding with the creamy base.
Variations & Adaptations
- Mint Cookies and Cream: Swap regular Oreos for mint-flavored sandwich cookies for a refreshing twist.
- Peanut Butter Swirl: Gently swirl in some peanut butter before freezing for a nutty surprise that pairs beautifully with the cookies.
- Dairy-Free Version: Use coconut cream instead of heavy cream and a dairy-free sweetened condensed milk alternative for a vegan-friendly treat.
- Extra Crunch: Add chopped toasted pecans or walnuts for a nutty crunch—this variation works well if you like a bit of texture contrast.
- Chocolate Lovers: Mix in mini chocolate chips or drizzle melted chocolate on top before freezing for an even richer dessert.
Personally, I once tried adding a handful of crushed peppermint bark around the holidays, and the cooling mint combined with the cookies and cream base was unexpectedly delightful. It’s fun to experiment with mix-ins, and this recipe’s forgiving nature makes it easy to customize without worrying about messing up the texture.
Serving & Storage Suggestions
This ice cream is best served chilled but slightly softened for easy scooping—leave it out at room temperature for 5 minutes before serving. For a simple presentation, scoop into classic bowls or waffle cones. It pairs wonderfully with a drizzle of hot fudge or caramel sauce, or even alongside a warm chocolate chip cookie for the ultimate indulgence.
Leftovers should be stored in an airtight container in the freezer. The ice cream keeps well for up to 2 weeks without losing its creamy texture. When reheating, avoid microwaving; instead, let it soften naturally at room temperature for a few minutes.
Interestingly, the flavor improves a bit over time as the cookies soften into the creamy base, creating a more unified taste experience. So if you can wait a day, the ice cream tastes even better. This makes it a great make-ahead dessert when hosting casual get-togethers.
For a fun party idea, consider serving alongside easy appetizers like the fresh shrimp salad with creamy herb dressing or the mini cheese balls with herb, pecan, and bacon. The contrast between savory appetizers and sweet ice cream makes for a balanced party spread.
Nutritional Information & Benefits
This cookies and cream ice cream is relatively indulgent but made with straightforward ingredients you recognize. A typical serving (about ½ cup or 125 ml) contains approximately 250-300 calories, mostly from fat and sugar, so it’s definitely a treat best enjoyed in moderation.
Heavy cream provides calcium and fat-soluble vitamins A and D, while sweetened condensed milk adds calcium and protein, though also contributing to the sugar content. The cookies bring in a bit of fiber but also added sugars.
For those watching carbs, swapping regular cookies for gluten-free or low-carb varieties helps tailor this recipe. Using coconut cream and dairy-free condensed milk opens options for vegan and lactose-intolerant diets. Just be mindful of allergens like dairy and gluten if serving to guests.
From a wellness perspective, I appreciate this recipe because it lets me satisfy a sweet tooth with no artificial additives or preservatives, unlike many store-bought ice creams. It’s homemade comfort food without mystery ingredients.
Conclusion
This easy creamy no-churn cookies and cream ice cream recipe has become a quiet staple in my kitchen. It’s the kind of dessert that doesn’t complicate your day but still manages to impress with its luscious texture and nostalgic flavor. You can tweak it to your liking, whether adding nuts, chocolate, or trying a dairy-free version.
I keep coming back to it because it delivers on the classic cookies and cream experience without any fancy equipment or long waits. Honestly, it’s a recipe that feels like a friend in the kitchen—there when you want something sweet, simple, and satisfying.
If you try it, I’d love to hear how you made it your own or what mix-ins you added. Sharing those little twists is part of what makes cooking fun and personal. Here’s to many creamy, cookie-filled spoonfuls!
Frequently Asked Questions
- Can I use different cookies besides Oreos? Yes! Any sandwich cookie with a creamy filling works well. You can try chocolate wafers, mint cookies, or gluten-free options.
- Do I need an ice cream maker for this recipe? No, this is a no-churn recipe designed to be super easy without any special equipment.
- How long does the ice cream need to freeze? At least 6 hours, but overnight is best for a firm texture.
- Can I make this recipe vegan? Yes, substitute heavy cream with coconut cream and use a dairy-free sweetened condensed milk alternative.
- Will the cookies stay crunchy in the ice cream? The cookies soften a bit over time but still provide texture. For crunchier bites, add some cookie chunks just before serving.
Pin This Recipe!
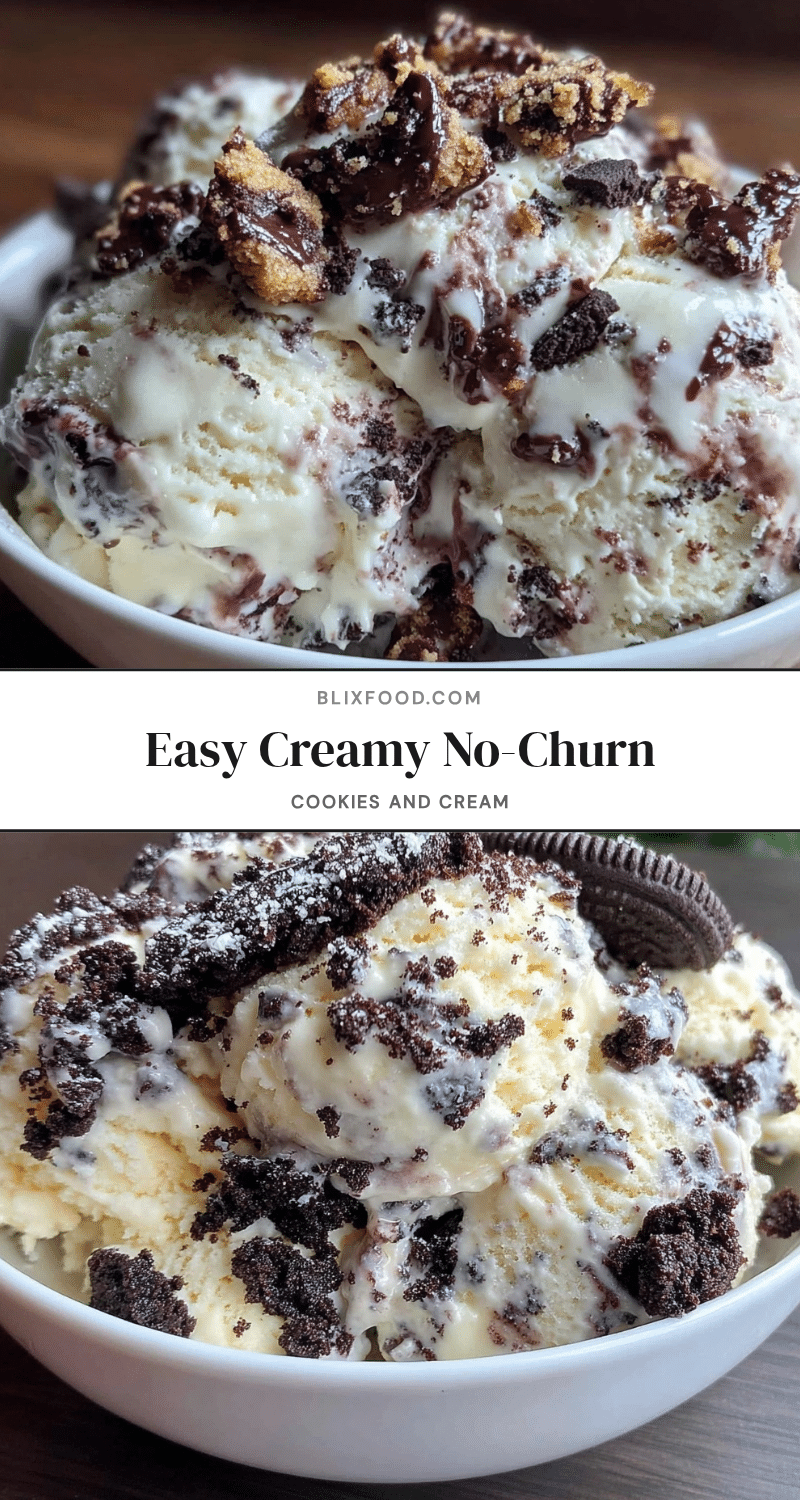
Easy Creamy No-Churn Cookies and Cream Ice Cream Recipe to Make at Home

A quick and easy no-churn cookies and cream ice cream recipe that is creamy, dreamy, and perfect for summer or parties without the need for an ice cream maker.
- Prep Time: 15 minutes
- Cook Time: 0 minutes
- Total Time: 6 hours 15 minutes
- Yield: 8 servings 1x
- Category: Dessert
- Cuisine: American
Ingredients
- 2 cups (480 ml) cold heavy whipping cream
- 1 can (14 oz / 396 g) sweetened condensed milk
- 1 teaspoon vanilla extract
- About 15 regular-sized Oreo cookies, crushed into chunky pieces (including some cream filling if desired)
- Optional add-ins: mini chocolate chips or chunks, chopped nuts like pecans or walnuts, gluten-free sandwich cookies
Instructions
- Chill your mixing bowl and beaters in the freezer for about 10 minutes before starting.
- Pour 2 cups (480 ml) of cold heavy whipping cream into the chilled bowl. Using an electric mixer on medium-high speed, whip the cream until soft peaks form (3-5 minutes).
- In a separate bowl, combine 1 can (14 oz / 396 g) sweetened condensed milk with 1 teaspoon vanilla extract and stir gently until smooth.
- Gently fold the whipped cream into the condensed milk mixture in three batches using a spatula to keep the mixture airy and smooth.
- Roughly crush about 15 Oreo cookies into chunky pieces by hand for texture.
- Fold the crushed cookies into the ice cream base gently but thoroughly. Add optional nuts or chocolate chips now if using.
- Pour the mixture into an 8×8 inch (20×20 cm) loaf pan or similar container and smooth the top with a spatula.
- Cover tightly with plastic wrap or an airtight lid and freeze for at least 6 hours, preferably overnight, until firm.
- Before serving, let the ice cream sit at room temperature for 5 minutes to soften slightly for easier scooping. Scoop into bowls or cones and enjoy.
Notes
Chill the mixing bowl and beaters before whipping cream for better results. Whip cream to soft peaks to avoid turning it into butter. Fold gently to keep the mixture airy. Freeze at least 6 hours or overnight for best texture. Cookies soften over time but still provide texture; add extra cookie chunks before serving for crunch.
Nutrition
- Serving Size: About 1/2 cup (125 m
- Calories: 275
- Sugar: 22
- Sodium: 90
- Fat: 18
- Saturated Fat: 11
- Carbohydrates: 25
- Fiber: 1
- Protein: 3
Keywords: no-churn ice cream, cookies and cream, easy ice cream recipe, homemade ice cream, Oreo ice cream, no ice cream maker, summer dessert