Introduction
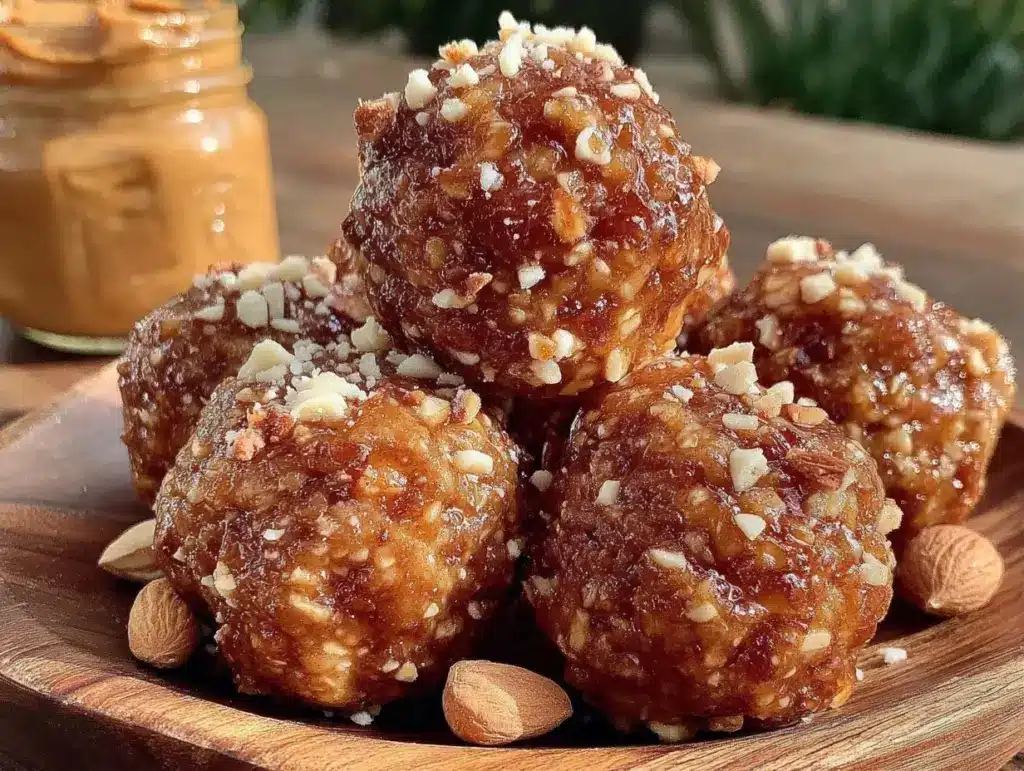
“You want something quick, right?” my co-worker said, sliding a small, dense ball across the table one hectic afternoon. I was skeptical—peanut butter protein balls sounded like one of those health fads that tasted like chalk. But honestly, after one bite, I was hooked. The sticky, nutty flavor combined with a chewy texture was surprisingly satisfying. It wasn’t just about the taste, though; it was the way these little bites seemed to reset my afternoon energy without the crash that usually follows a sugary snack.
I started making these easy no-bake peanut butter protein balls almost every week, especially when I was juggling work deadlines and late-night projects. No oven, no mess, just a handful of ingredients mixed and rolled into portable energy boosters. Honestly, they became my secret weapon for powering through those chaotic days.
What really stuck with me is how adaptable and forgiving the recipe is—no need to measure perfectly or hunt down fancy ingredients. Plus, they keep well, so I could prep a batch ahead and snack guilt-free anytime. So here’s my take on this simple, wholesome treat that’s been a lifesaver more times than I can count.
Why You’ll Love This Recipe
After testing many versions of peanut butter protein balls, this recipe stands out for good reasons. I’ve learned what works best for taste, texture, and convenience, and this is what I keep coming back to. It’s straightforward, accessible, and hits that sweet spot between healthy and indulgent.
- Quick & Easy: Ready in under 15 minutes, perfect for busy mornings or an afternoon pick-me-up.
- Simple Ingredients: Uses pantry staples like oats, peanut butter, and protein powder—no surprise trips to specialty stores.
- Perfect for On-the-Go: Ideal for packing in lunches, gym bags, or even as a last-minute party snack.
- Crowd-Pleaser: Friends and family keep asking for the recipe, especially after workouts or casual hangouts.
- Unbelievably Delicious: The creamy peanut butter combined with a touch of honey and the crunch of oats creates a texture combo that’s honestly addicting.
This isn’t just another protein ball recipe; the trick is blending the peanut butter with a little coconut oil to get the perfect consistency and folding in a pinch of cinnamon to add warmth without overpowering the flavor. It’s comfort food with a protein punch—something that feels like a treat but fuels you right.
Whether you’re looking to impress guests with simple snacks or just want a reliable homemade energy bite, these protein balls have your back. I even sometimes bring them along with a batch of fresh shrimp salad appetizers when hosting friends. It’s a combo that never fails to get compliments.
What Ingredients You Will Need
This recipe calls for easy-to-find ingredients that work together to create a balanced, tasty snack. The oats provide chew and fiber, peanut butter brings richness and protein, and the protein powder boosts the nutrition without adding grit. You can swap out or skip a few items depending on what’s in your pantry or dietary needs.
- Rolled oats (1 cup / 90 g) – I prefer old-fashioned oats for texture; quick oats get too mushy.
- Natural peanut butter (½ cup / 125 g) – Creamy or chunky works, but creamy blends easier.
- Honey (¼ cup / 85 g) – Adds natural sweetness and helps bind everything.
- Vanilla protein powder (¼ cup / 30 g) – Use your favorite brand; I like one with minimal additives.
- Chia seeds (1 tbsp / 15 g) – Optional, for extra fiber and omega-3s.
- Coconut oil (1 tbsp / 15 ml) – Melted; helps with binding and smooth texture.
- Cinnamon (½ tsp) – Adds warmth and subtle spice.
- Salt (a pinch) – Balances the sweetness and enhances flavor.
You can easily swap almond butter for peanut butter if you prefer a milder nut flavor. For a vegan version, replace honey with maple syrup or agave nectar. Using gluten-free oats keeps this recipe safe for gluten-sensitive diets.
When I can, I grab organic peanut butter and a plant-based protein powder, but honestly, any reliable store brand works great. The key is to keep the ingredients simple and fresh—nothing fancy, just wholesome pantry staples.
Equipment Needed
One of the best things about this recipe is how little equipment you need. It’s perfect for anyone who’s not into complicated kitchen gear or who just wants a quick fix without the fuss.
- Large mixing bowl – for combining everything comfortably.
- Measuring cups and spoons – accurate measurements help with consistency, but a rough scoop works too.
- Wooden spoon or spatula – sturdy enough to mix the sticky dough.
- Baking sheet or plate – for setting the balls to chill.
- Optional: Food processor – if you want a finer oat texture or to blend ingredients quickly.
If you don’t have a food processor, no worries. I usually mix by hand because it gives me more control over the texture. For cleaning, a silicone spatula is a lifesaver to scrape down sticky bowls.
Budget-wise, all these tools are pretty standard, and you might already own them. No special appliances required—perfect for a simple kitchen setup or even a dorm room.
Preparation Method
- Gather your ingredients. Measure out all your ingredients and have them ready on the counter. This makes the process smoother and faster.
- Mix wet ingredients. In your large bowl, combine the peanut butter, honey, and melted coconut oil. Stir until smooth and well combined. This usually takes about 2-3 minutes. The mixture should be glossy and easy to stir.
- Add dry ingredients. Sprinkle in the oats, protein powder, chia seeds (if using), cinnamon, and salt. Stir everything together gently. The dough will be thick and sticky but should hold together when pressed.
- Test the consistency. Pinch a small amount of the mixture and squeeze it in your hand. If it crumbles, add a teaspoon of water or more honey to help it bind. If it’s too wet, sprinkle in a bit more oats or protein powder.
- Shape the balls. Scoop about one tablespoon (15 ml) of mixture and roll it between your palms into a tight ball. Repeat until all the mixture is used, usually making around 12-15 balls.
- Chill to set. Place the balls on a baking sheet or plate lined with parchment paper. Refrigerate for at least 30 minutes to firm up, though they’re edible right away if you’re impatient like me.
- Store properly. Transfer the chilled balls to an airtight container. They keep well in the fridge for up to a week or freeze nicely for longer storage.
Pro tip: If you find the mixture sticking too much to your hands, dampen your palms slightly or lightly dust with oats.
For a smoother texture, you can pulse the oats in a food processor before mixing. I sometimes do this when making crispy caraway twists and want a finer crumb base.
Cooking Tips & Techniques
One lesson I learned early on is not to skip the chilling step. Those little peanut butter protein balls firm up beautifully in the fridge, making them less sticky and easier to grab without leaving a mess.
When mixing, patience is key. Stirring well to evenly distribute the protein powder prevents dry pockets that can ruin the texture. Also, don’t overdo the protein powder—it can make the balls crumbly or chalky.
Avoid using crunchy peanut butter unless you like an extra nutty bite. Creamy versions blend better and hold the balls together more effectively.
If you want to boost the flavor, a tiny splash of vanilla extract can make a big difference. I add it sometimes when I’m feeling fancy or making these for friends.
Multitasking tip: While the balls chill, I often prep a dip or spread, like the creamy salmon dip, for a snack platter. It’s a nice balance of savory and sweet for guests or family.
Variations & Adaptations
You can tweak this recipe easily to suit your mood or dietary needs. Here are some of my favorite variations:
- Chocolate Boost: Add 2 tablespoons of unsweetened cocoa powder or mini chocolate chips for a peanut butter chocolate flavor combo.
- Nut-Free Option: Swap peanut butter with sunflower seed butter to make it safe for nut allergies.
- Seasonal Twist: Mix in dried cranberries or chopped dates for a chewy, fruity surprise. This pairs well with savory party bites like the festive cranberry cream cheese spread.
- Spiced Up: Add a pinch of cayenne or smoked paprika for a subtle kick if you like a little heat.
I once tried swapping the oats for puffed quinoa to add a light crunch, and it was a fun texture change. Also, using a vegan protein powder keeps it plant-based and friendly for my friends who avoid dairy.
Serving & Storage Suggestions
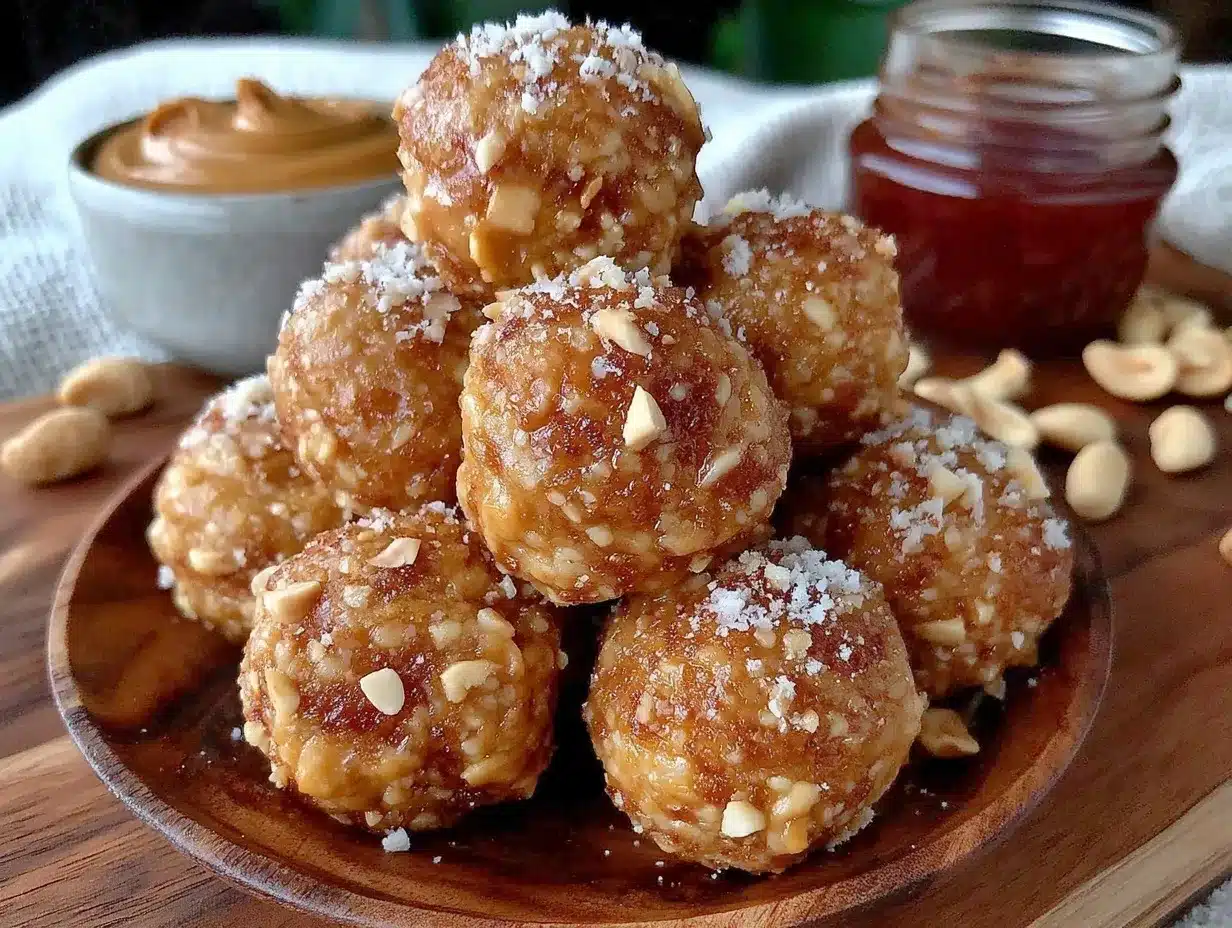
These peanut butter protein balls are best served chilled or at room temperature. They make a great pre- or post-workout snack, a handy travel companion, or a quick bite when you need a little energy lift.
For a casual gathering, arrange them on a small platter alongside other finger foods like mini cheese balls or fresh veggies with dip. It’s a simple way to add variety without fuss.
Store any leftovers in an airtight container in the refrigerator for up to a week. For longer storage, freeze in a single layer on a tray, then transfer to a freezer-safe bag. Thaw at room temperature for 15 minutes before enjoying.
Flavors meld nicely after a day or two in the fridge, making the texture a bit firmer and the taste richer. If you find them too firm after refrigeration, just let them sit out for a few minutes to soften.
Nutritional Information & Benefits
Each peanut butter protein ball packs roughly 100-120 calories, with about 5-6 grams of protein, 7-8 grams of healthy fats, and 5 grams of fiber. They’re a balanced snack that fuels your body without the sugar crash.
Peanut butter provides heart-healthy monounsaturated fats and protein, while oats offer fiber and slow-burning carbs. Chia seeds add omega-3 fatty acids and antioxidants, making these bites a nutrient-rich choice.
This recipe is naturally gluten-free when using certified oats and can be tailored to be vegan or nut-free. Just watch out for allergies when sharing with others.
I appreciate how these protein balls fit into a realistic wellness plan—easy to grab, satisfying, and nourishing without being complicated or time-consuming.
Conclusion
These easy no-bake peanut butter protein balls have become my go-to snack for quick energy and simple satisfaction. They’re forgiving, adaptable, and genuinely delicious, making them a staple in my kitchen rotation.
Feel free to make this recipe your own by swapping ingredients or adding your favorite flavors. I love how a small batch can brighten a hectic day or add a thoughtful touch to gatherings.
Give them a try and see how these little bites can fit seamlessly into your routine. I’d love to hear your favorite tweaks or occasions for making them—drop a comment or share how you enjoy your protein balls. Here’s to effortless snacking that actually tastes great!
FAQs
- Can I use other nut butters besides peanut butter? Yes! Almond, cashew, or sunflower seed butter are great alternatives. Just adjust sweetness and texture as needed.
- How long do peanut butter protein balls last? Stored airtight in the fridge, they last about a week. You can freeze them for up to 3 months.
- Is it necessary to add protein powder? Protein powder boosts nutrition but can be omitted if you prefer. You might want to add more oats or seeds to maintain texture.
- Can kids eat these? Absolutely! They’re a kid-friendly snack with natural sweetness and familiar flavors.
- What if I don’t have coconut oil? You can substitute melted butter or skip it altogether—just be aware it might affect the binding slightly.
Pin This Recipe!
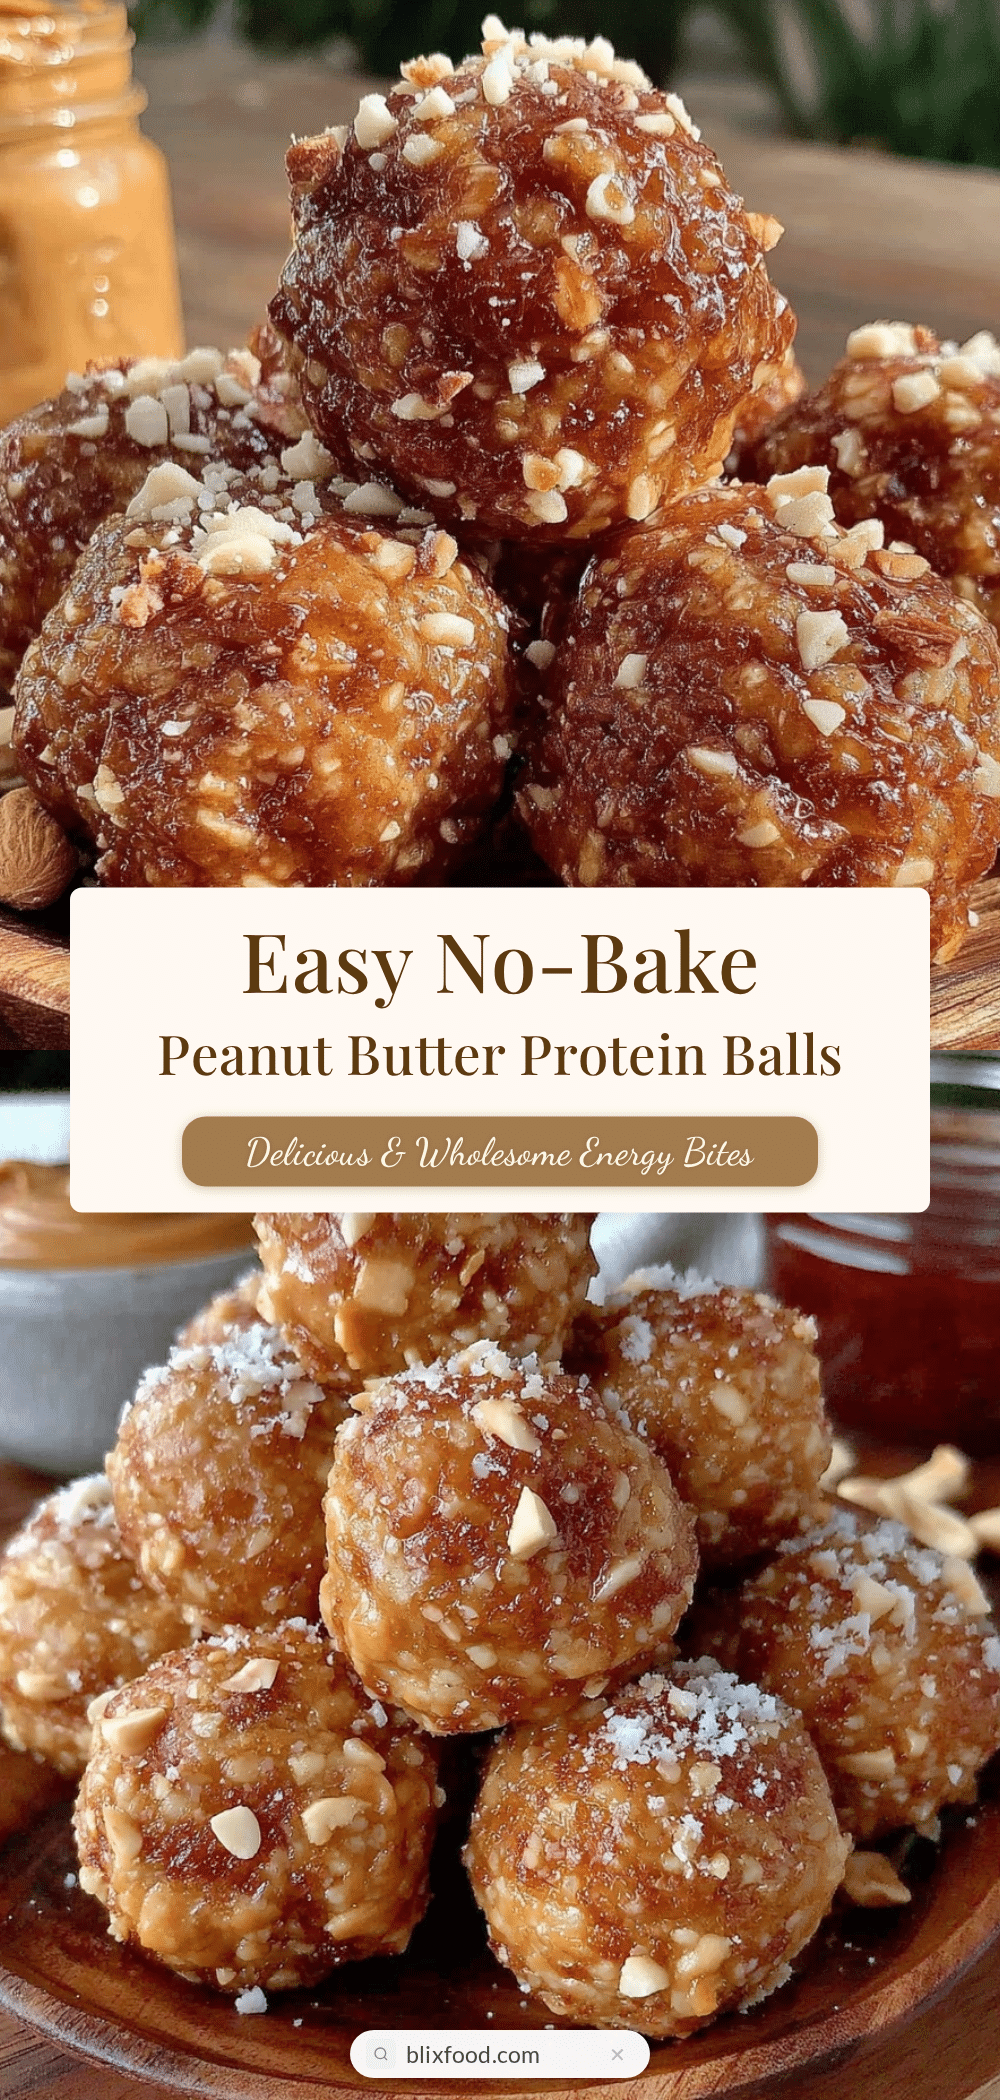
Easy No-Bake Peanut Butter Protein Balls Recipe for Quick Energy Boost

These no-bake peanut butter protein balls are quick, easy, and perfect for a healthy energy boost. Made with simple pantry staples, they offer a satisfying, chewy texture and a protein punch without any baking required.
- Prep Time: 10 minutes
- Cook Time: 0 minutes
- Total Time: 40 minutes
- Yield: 12-15 balls 1x
- Category: Snack
- Cuisine: American
Ingredients
- 1 cup rolled oats (90 g)
- ½ cup natural peanut butter (125 g)
- ¼ cup honey (85 g)
- ¼ cup vanilla protein powder (30 g)
- 1 tbsp chia seeds (15 g) – optional
- 1 tbsp melted coconut oil (15 ml)
- ½ tsp cinnamon
- A pinch of salt
Instructions
- Gather your ingredients and have them ready on the counter.
- In a large mixing bowl, combine the peanut butter, honey, and melted coconut oil. Stir until smooth and well combined, about 2-3 minutes.
- Add the oats, protein powder, chia seeds (if using), cinnamon, and salt. Stir gently until the mixture is thick and sticky.
- Test the consistency by pinching a small amount; if it crumbles, add a teaspoon of water or more honey. If too wet, add more oats or protein powder.
- Scoop about one tablespoon (15 ml) of mixture and roll it between your palms into a tight ball. Repeat until all mixture is used, making about 12-15 balls.
- Place the balls on a baking sheet or plate lined with parchment paper and refrigerate for at least 30 minutes to firm up.
- Store the chilled balls in an airtight container in the fridge for up to a week or freeze for longer storage.
Notes
If mixture sticks to hands, dampen palms or dust with oats. For smoother texture, pulse oats in a food processor before mixing. Use creamy peanut butter for better binding. Chilling is important to firm up the balls. Variations include adding cocoa powder, mini chocolate chips, or swapping nut butters for allergies or preferences.
Nutrition
- Serving Size: 1 protein ball
- Calories: 110
- Sugar: 5
- Sodium: 50
- Fat: 7.5
- Saturated Fat: 1.5
- Carbohydrates: 10
- Fiber: 2
- Protein: 6
Keywords: peanut butter protein balls, no-bake snack, healthy energy bites, quick protein snack, easy no-bake recipe